
Never ending Build in Chicago
#1
 04-05-2011, 10:59 AM

I haven't posted here in a long time, so I wanted to share my build. There's a lot of things I'm doing with my A4.
I want to thank Issam from INA Engineering for all his help
1- Build a Stroker Engine
2 - Wideband Conversion - AEB to AWM
3 - Car face lift
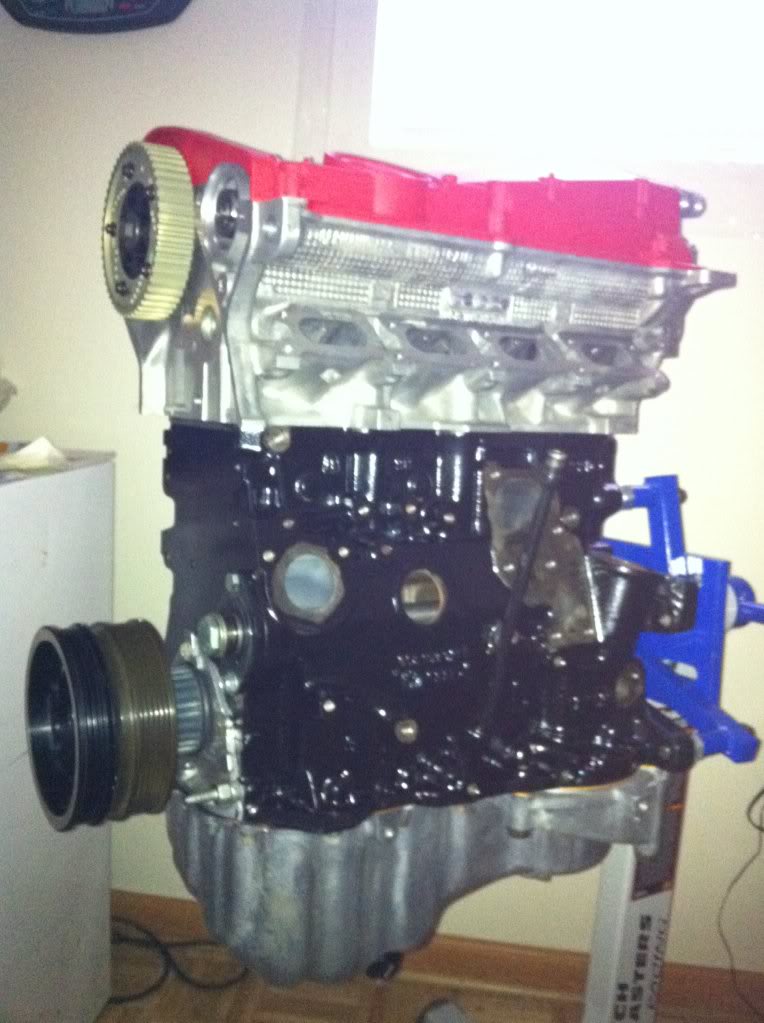
Stroker Build -
So far what I have for my build
ABA Forged Crank
82.5 Supertech Pistons
IE Rods - I-Beam
Precision 6057 Turbo
PAG Logger Manifold
3in Downpipe
3" Custom Exhaust - (Doing some changes)
38mm MVS Tial External Wastegate
ATP Fuel Rail
Fuel Pressure Gauge
044 Fuel Pump
Tial 50mm BOV
RS4 Throttle Body
044 Fuel Pump
ARP Head Studs Kit 058
ARP Main Studs 058
ARP Crank Bolt
Crank Rear Seal
Crank Gear Pulley
ARP Fly Wheel Bolts
Head Gasket set-(Big bore head gasket)
Main Bearing Caps Billet
Main Bearings w/Thrust Washer Set
Rod Bearings +.001" ACL calico coated
Fluidampr Harmonic Dampner
Turbo Cover
1000cc Fuel Injectors
Eurodyne Software
Supertech Valves
Cat Cam Springs
Titanium Retainers
Purple Cat Cams
Lifters
Timing Belt Kit
All Mounts
FX400 Clutch
Light Weight Steel Flywheel
Cat Cam Gear
TR1035 - Treadstone FMIC with 2 1/2 custom piping
034 Motor Mounts
034 Trans Mounts
034 Snob Mount with Bracket
JHM Drivetrain Stabilizer
Apikol Rear End driveshaft
JHM Solid linkage
JHM Shifter Stabilizer
B&M Short Shifter - with my own touch
I also bought another parts, but it's a surprise until I get it
Wideband Conversion -
For the wideband conversion I bought all the wiring harness from a 01 AWM A4 - I currently started working on this I'll post more information on how everything goes with the conversion.
Face lift -
I painted my RS4 bumper
Want to change the lower part of the rear bumper
Want to change the sideskits
I'm also painting my Boser
Changed rear shocks and installing Neuspeed racing springs
Changing to S4 brakes (front and rear)
S4 front and rear seats
Custom 3" exhaust
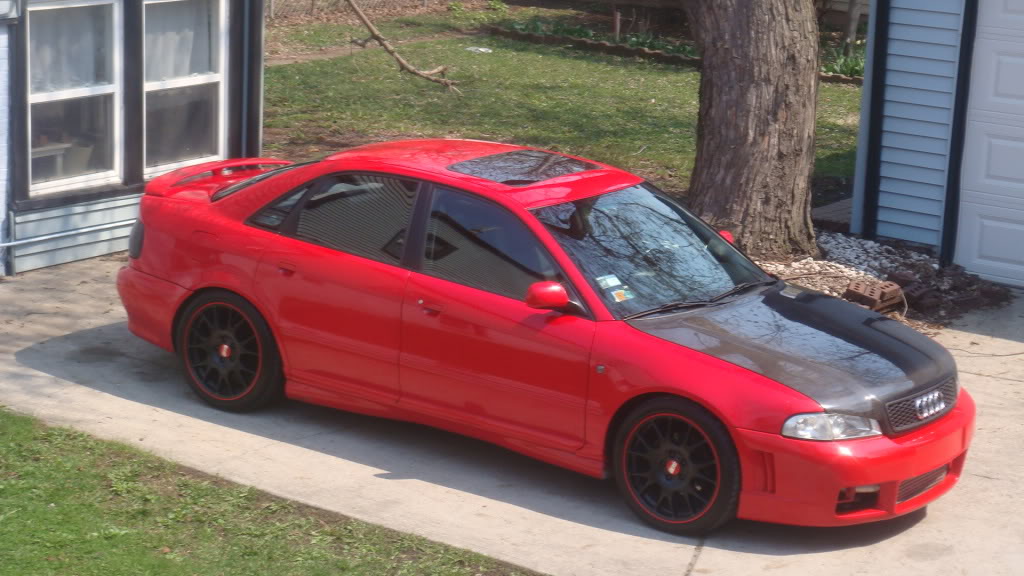
Here's pics of my car before I put my car in the garage

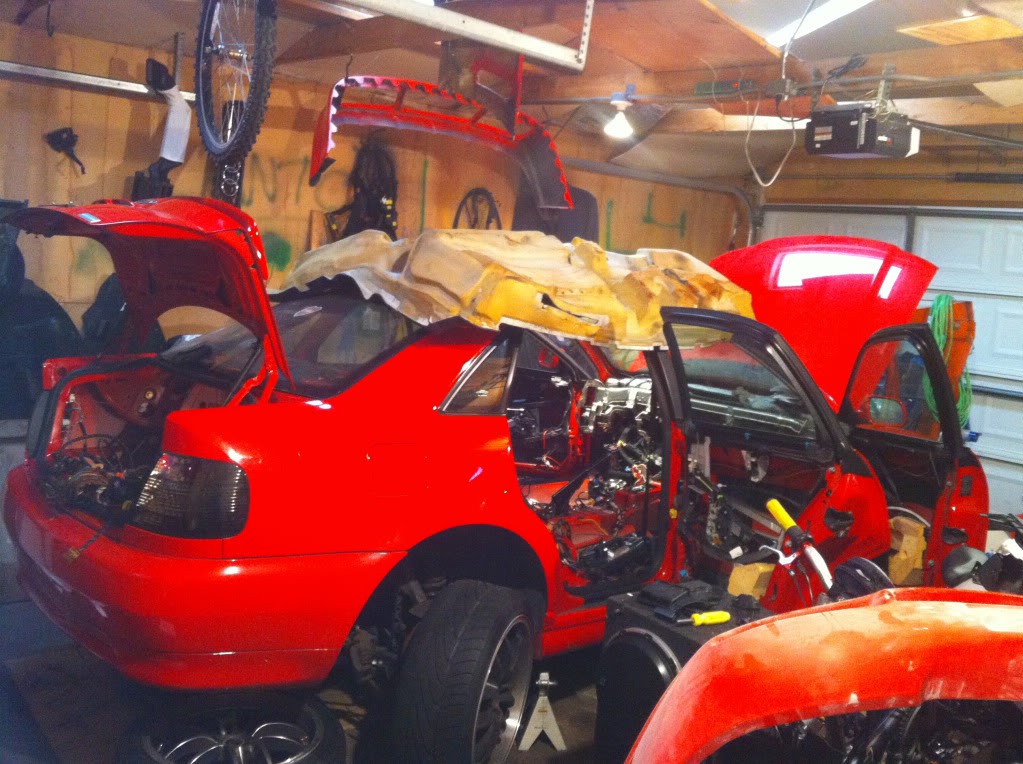
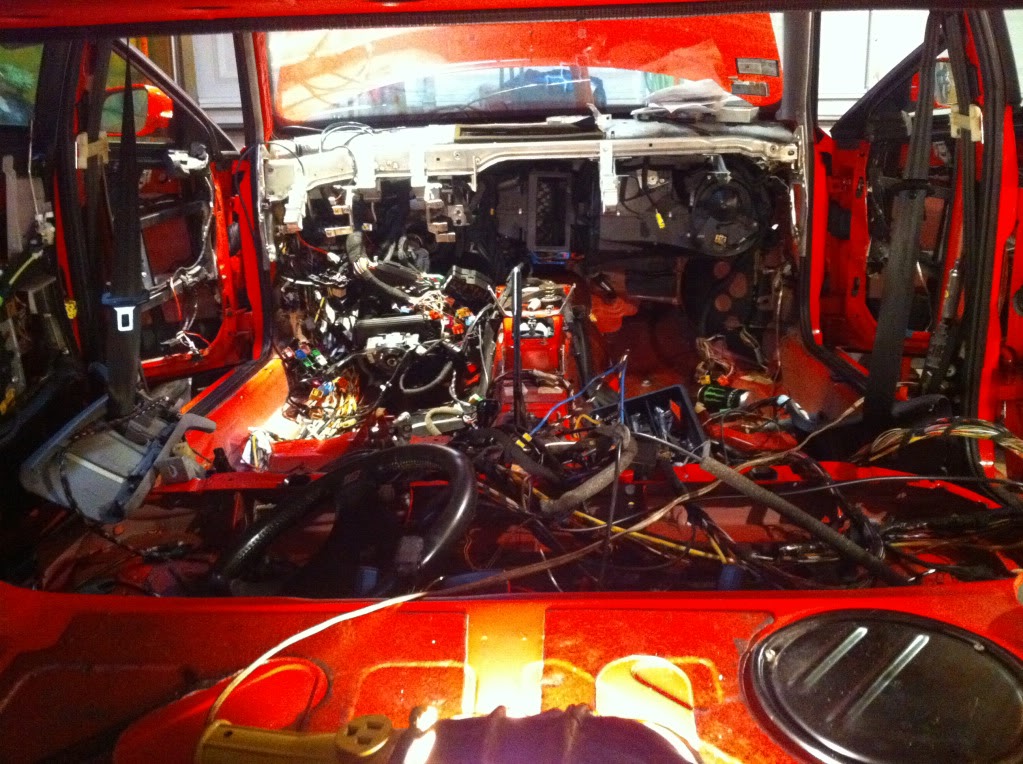
Here's how my conversion is going... Lol
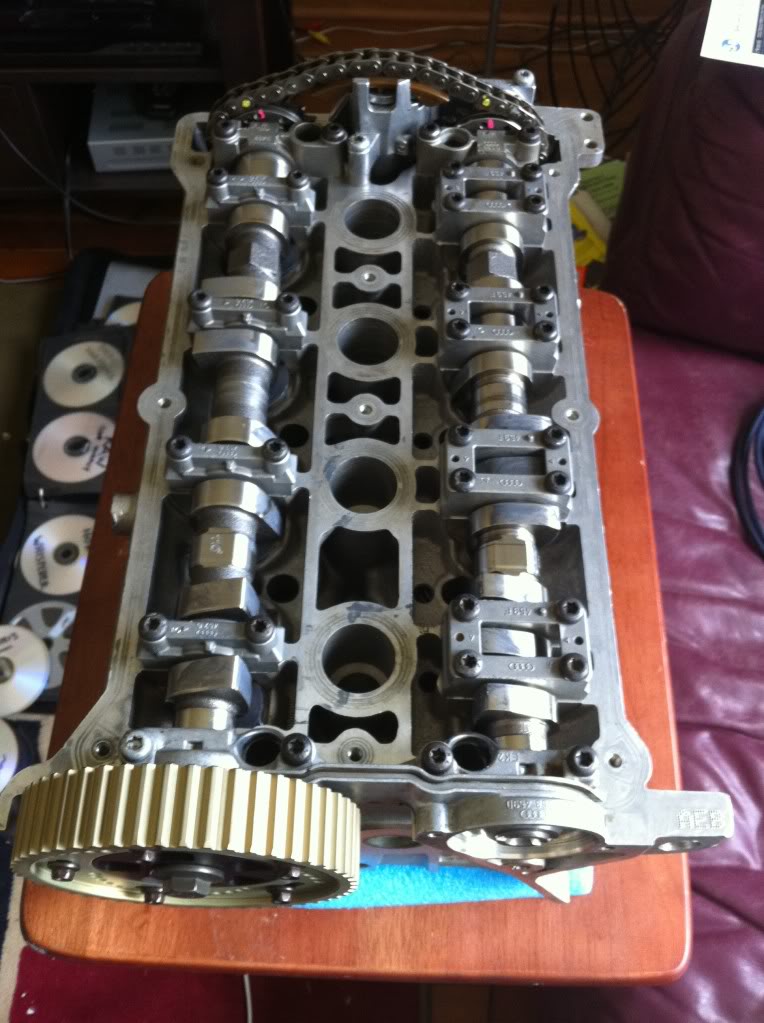
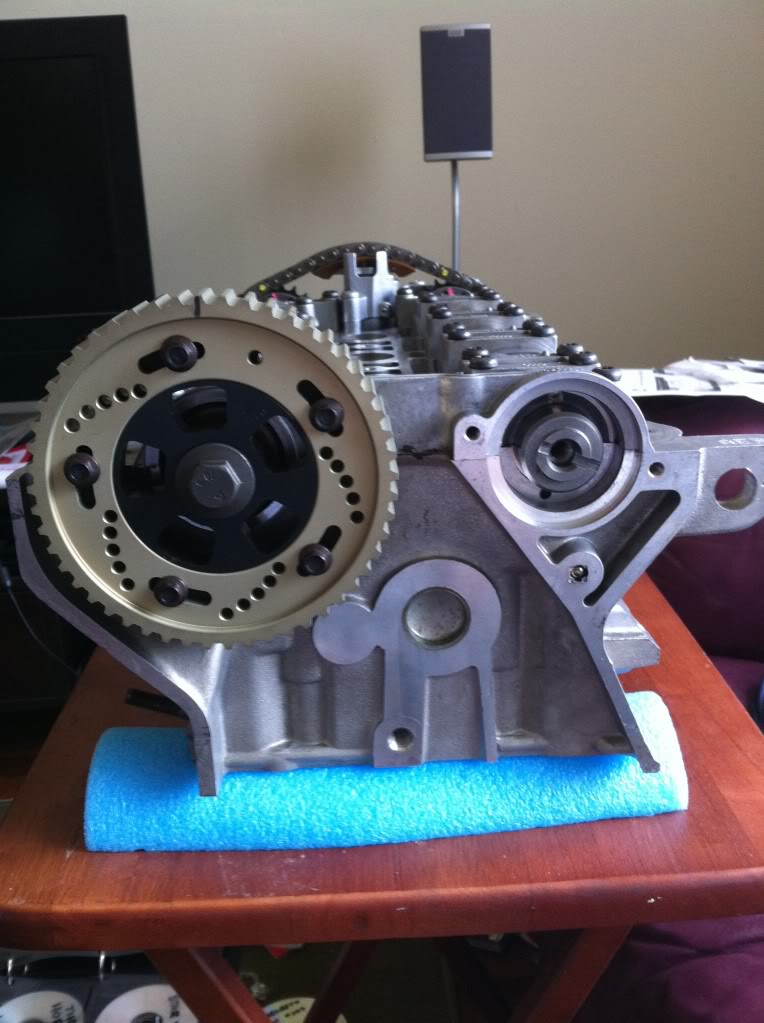
Here are some pics of the parts I bought
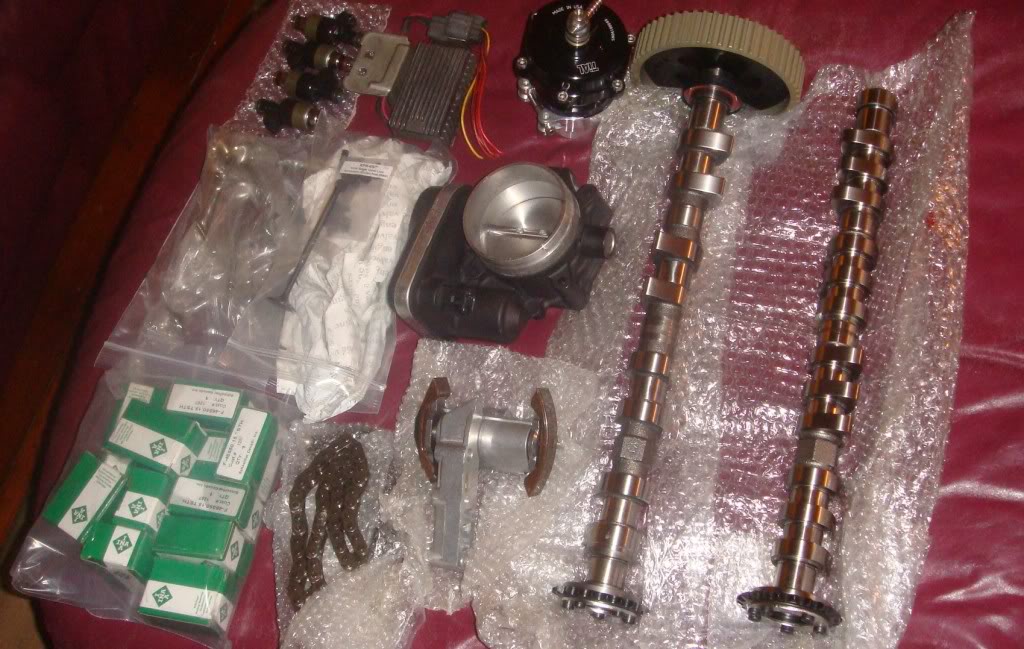
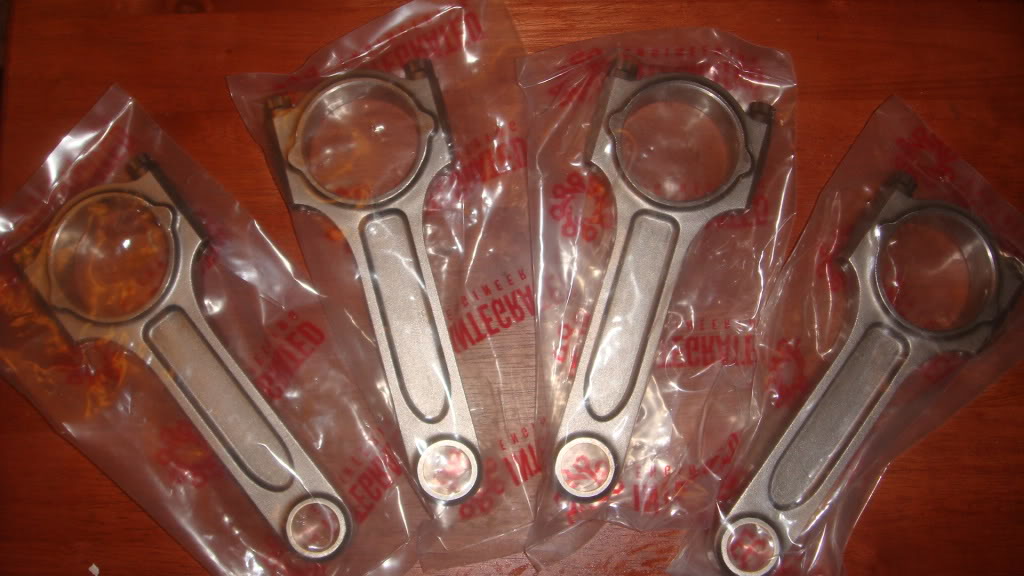
IE I-Beam Rods
Presicion 6057

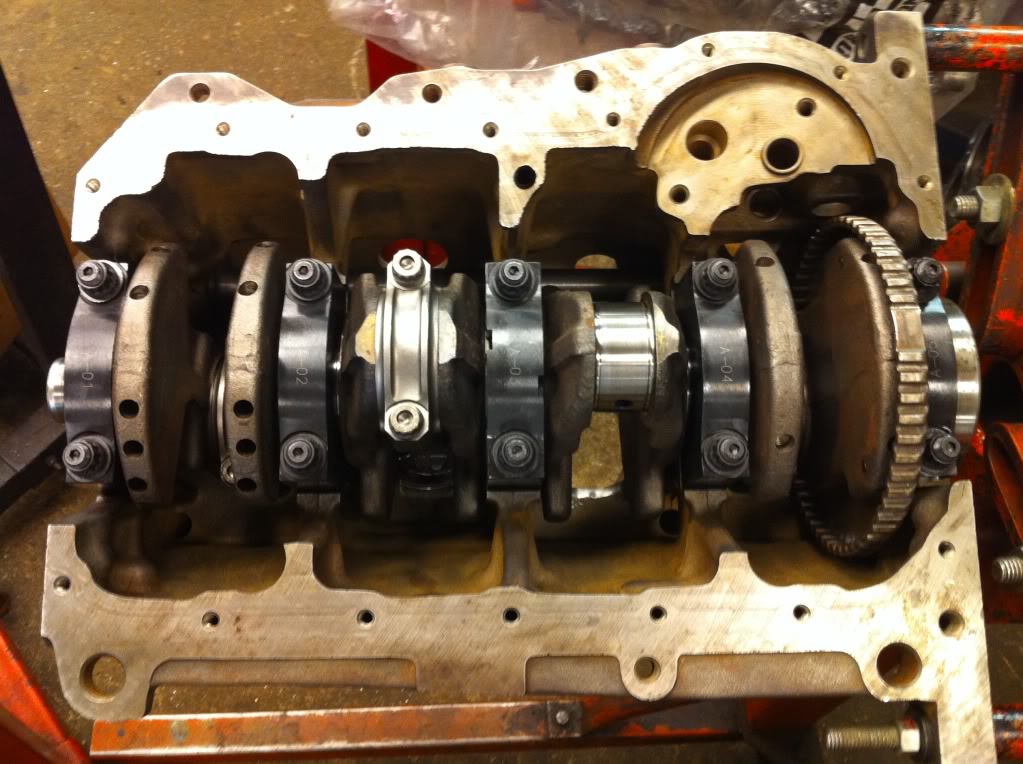
When I got my block from the machine shop
Thanks for checking out my post. More to come!!!
I want to thank Issam from INA Engineering for all his help
1- Build a Stroker Engine
2 - Wideband Conversion - AEB to AWM
3 - Car face lift
Stroker Build -
So far what I have for my build
ABA Forged Crank
82.5 Supertech Pistons
IE Rods - I-Beam
Precision 6057 Turbo
PAG Logger Manifold
3in Downpipe
3" Custom Exhaust - (Doing some changes)
38mm MVS Tial External Wastegate
ATP Fuel Rail
Fuel Pressure Gauge
044 Fuel Pump
Tial 50mm BOV
RS4 Throttle Body
044 Fuel Pump
ARP Head Studs Kit 058
ARP Main Studs 058
ARP Crank Bolt
Crank Rear Seal
Crank Gear Pulley
ARP Fly Wheel Bolts
Head Gasket set-(Big bore head gasket)
Main Bearing Caps Billet
Main Bearings w/Thrust Washer Set
Rod Bearings +.001" ACL calico coated
Fluidampr Harmonic Dampner
Turbo Cover
1000cc Fuel Injectors
Eurodyne Software
Supertech Valves
Cat Cam Springs
Titanium Retainers
Purple Cat Cams
Lifters
Timing Belt Kit
All Mounts
FX400 Clutch
Light Weight Steel Flywheel
Cat Cam Gear
TR1035 - Treadstone FMIC with 2 1/2 custom piping
034 Motor Mounts
034 Trans Mounts
034 Snob Mount with Bracket
JHM Drivetrain Stabilizer
Apikol Rear End driveshaft
JHM Solid linkage
JHM Shifter Stabilizer
B&M Short Shifter - with my own touch
I also bought another parts, but it's a surprise until I get it
Wideband Conversion -
For the wideband conversion I bought all the wiring harness from a 01 AWM A4 - I currently started working on this I'll post more information on how everything goes with the conversion.
Face lift -
I painted my RS4 bumper
Want to change the lower part of the rear bumper
Want to change the sideskits
I'm also painting my Boser
Changed rear shocks and installing Neuspeed racing springs
Changing to S4 brakes (front and rear)
S4 front and rear seats
Custom 3" exhaust
Here's pics of my car before I put my car in the garage
Here's how my conversion is going... Lol
Here are some pics of the parts I bought
IE I-Beam Rods
Presicion 6057
When I got my block from the machine shop
Thanks for checking out my post. More to come!!!
#4
04-05-2011, 12:07 PM
Thanks guys!!
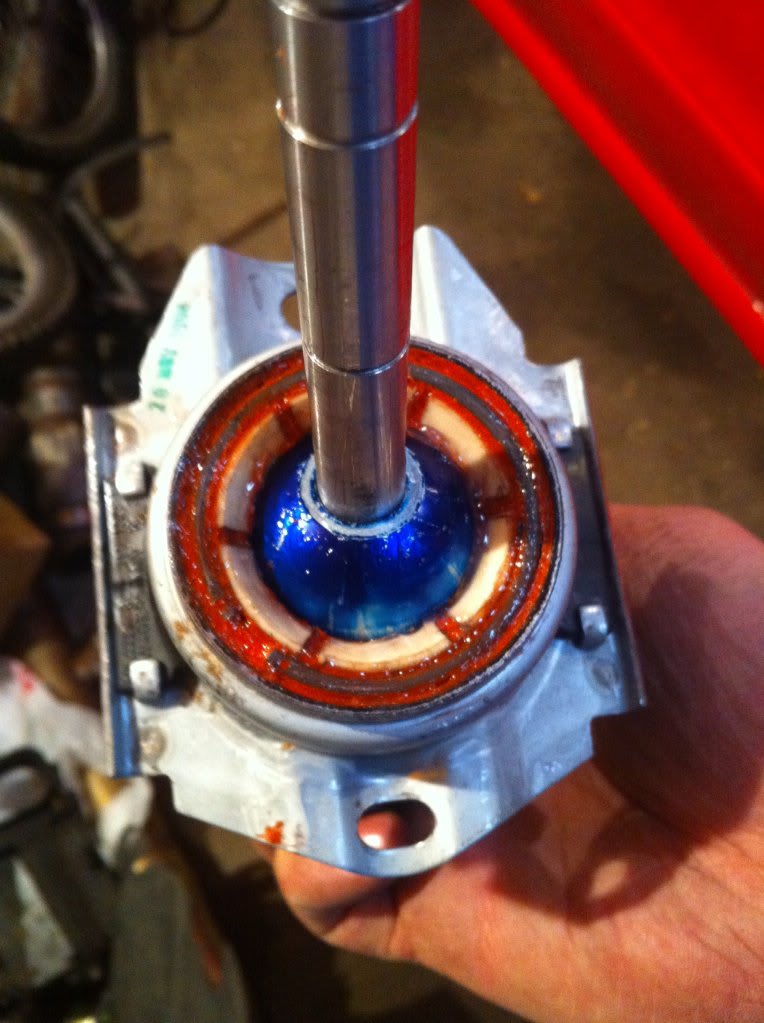
I forgot to add my short shifter modification.
Since I can't buy a JHM Short Shifter right now. I looked at my old short shifter and figure out how to make it function better. The biggest weak part of the OEM is the play that the shifter has. So I thought of how I can make it to not have that play and at the same time save money.
So what I did is put the pivot in the shifter assembly with a little grease, then I add red hi temp silicone sealant, (I can remember what brand I used, but I'm sure any of them will work) and compressed it in between the gaps both the upper part and then I turned it around and did the same. Just make sure it doesn't get in where the pivot is. The last step I did was get another large internal retaining ring and I installed the 2 retaining ring instead of just the one that would have. It's a little hard to expain, the way I intalled the 2 rings, install one the way you would normally install the ring then the other ring I installed it upside down, so they grab on to each other. After that I put a little more of the hi temp sealant and I let it dry. I would say to let it dry for 24hrs.
I still didn't install it but I noticed a big difference. It's a lot sturdier.
If you decide to do this it'll be at your own risk, I'm not responsible. I hope this helps.
Last edited by un1ko; 04-05-2011 at 12:11 PM.

#9
04-05-2011, 11:01 PM
Thanks guys!!
I forgot to add my short shifter modification.
Since I can't buy a JHM Short Shifter right now. I looked at my old short shifter and figure out how to make it function better. The biggest weak part of the OEM is the play that the shifter has. So I thought of how I can make it to not have that play and at the same time save money.
So what I did is put the pivot in the shifter assembly with a little grease, then I add red hi temp silicone sealant, (I can remember what brand I used, but I'm sure any of them will work) and compressed it in between the gaps both the upper part and then I turned it around and did the same. Just make sure it doesn't get in where the pivot is. The last step I did was get another large internal retaining ring and I installed the 2 retaining ring instead of just the one that would have. It's a little hard to expain, the way I intalled the 2 rings, install one the way you would normally install the ring then the other ring I installed it upside down, so they grab on to each other. After that I put a little more of the hi temp sealant and I let it dry. I would say to let it dry for 24hrs.
I still didn't install it but I noticed a big difference. It's a lot sturdier.
If you decide to do this it'll be at your own risk, I'm not responsible. I hope this helps.
ImTheDevil think u should do post this in the DIY section may come in handy to some ppl out-there just a thought.....and dude love the car look's like your gonna have some fun with that bad boy when it's done.
