
HID install. Before and after pictures!
#1
 05-03-2009, 10:37 PM


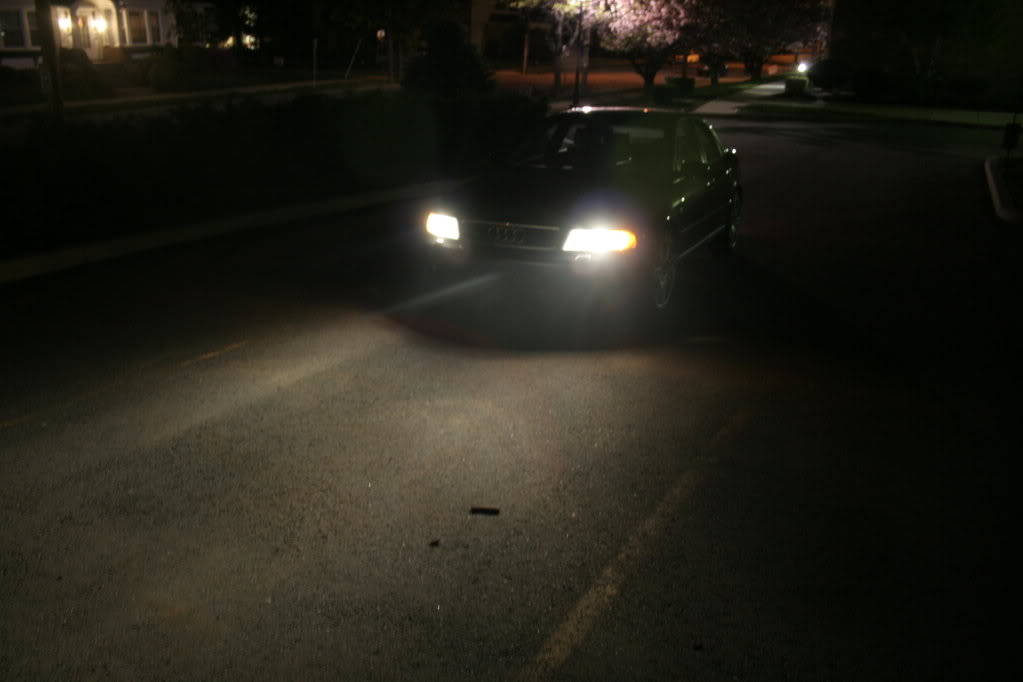
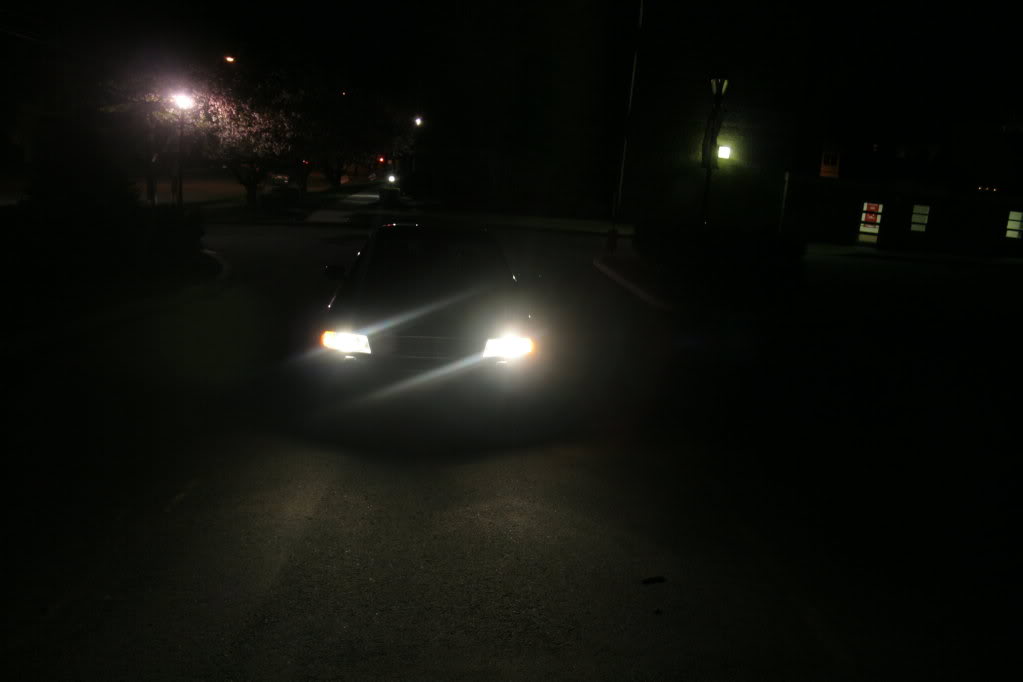
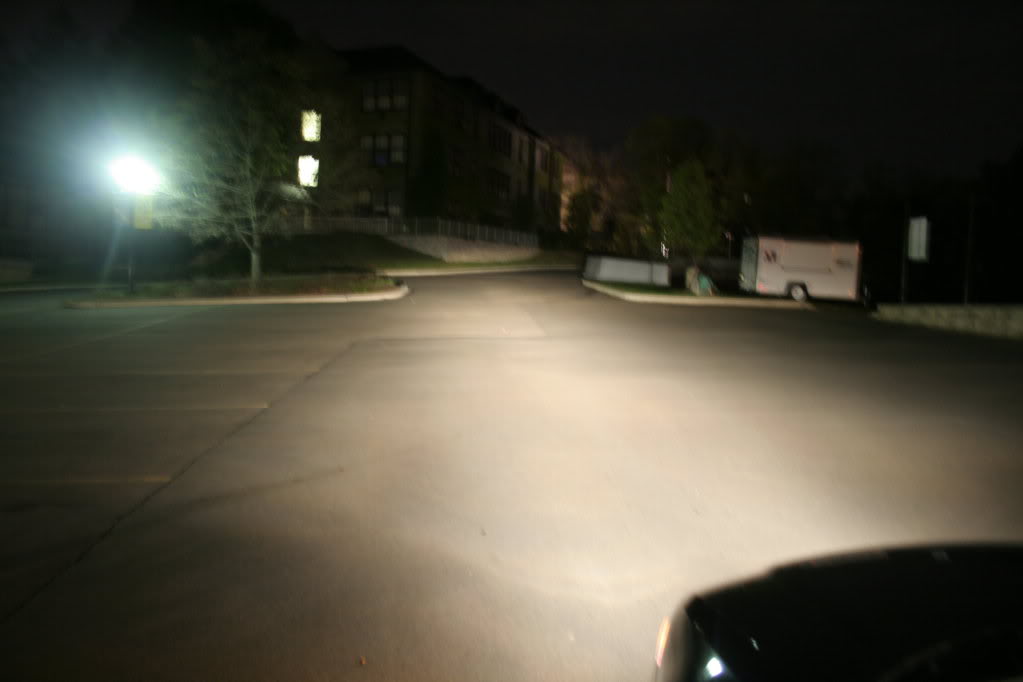
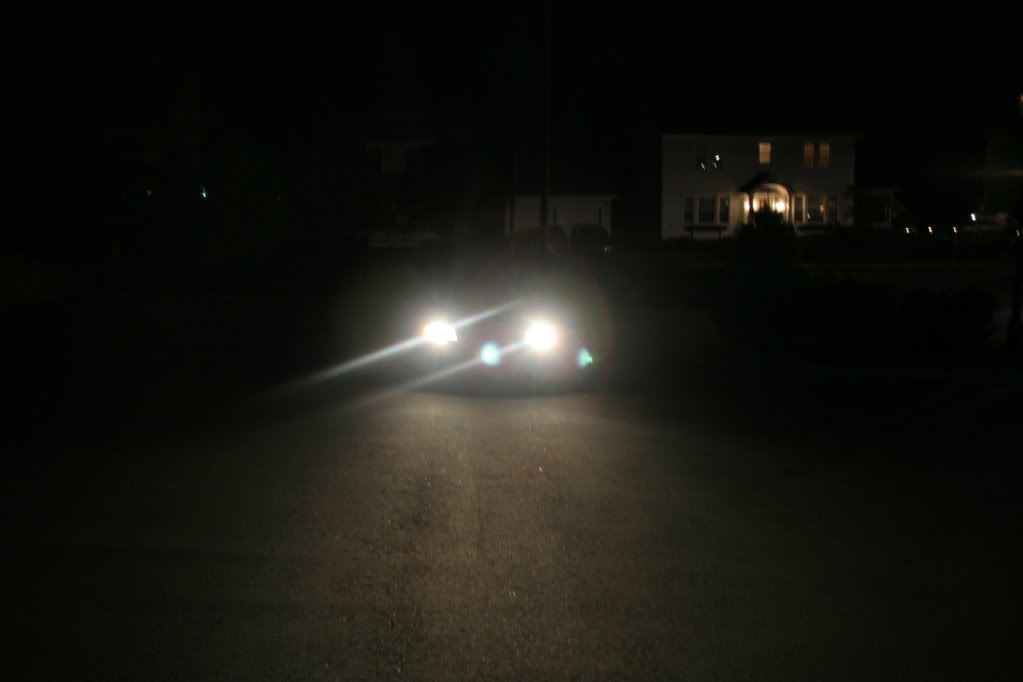
I'm installing a 5000k DDM slim ballast plug and play kit into my 2001(facelift) audi a4. I looked all over for pictures of before/after, cutoff pictures, etc. I've had some requests that I do this, so here it is! For now, here are some before pictures. Tomorrow(hopefully) I'll have time to do the install and post some pictures up of that. For now, here's some before pictures i took with stock bulbs
This last one was just for fun!
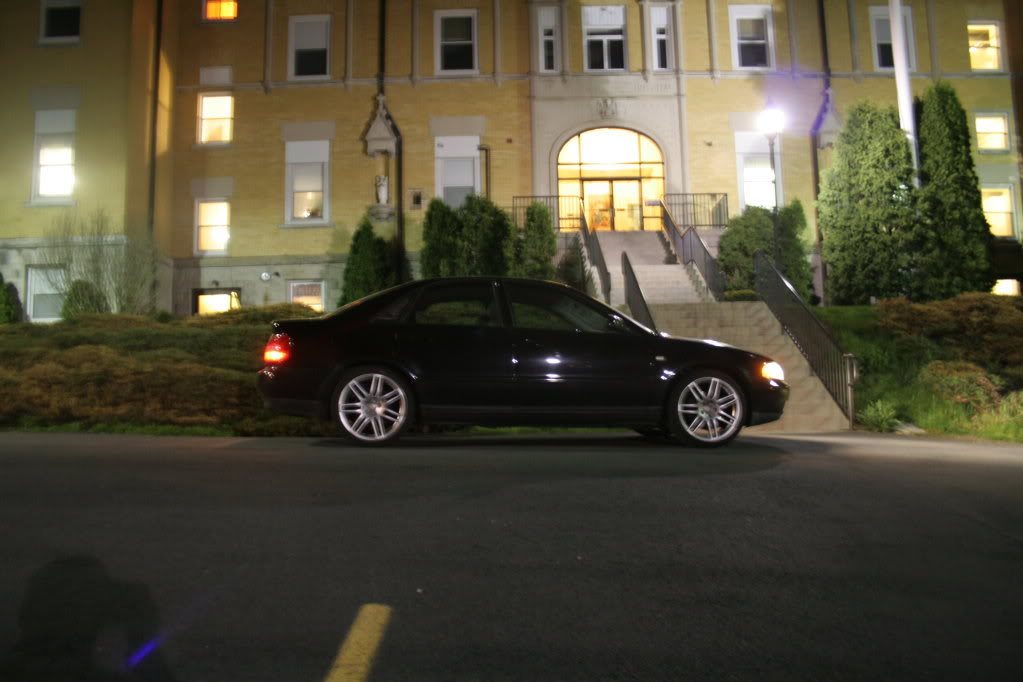
This last one was just for fun!

#5
05-04-2009, 10:09 AM
Are any of those after pics? If not cant wait to see them, I've got the same kit sitting on my table at home. Did you get the 35w or the 55w kit?
#6
05-04-2009, 12:48 PM
35w. I'm not dealing with 55w and burning wires. Sorry, not my thing.
Here's some install pictures and after. I need to align these and maybe tonite I can aim them!
I think this is a pretty OEMish install. NO SILICONE, NO DRILLED HOLES...completely reversible with no extra parts(except halogen bulbs haha). What I did was double sided taped the ballast between the high beam and low beam with the igniter on top of the ballast and then tucked the wires in! Onto the pics...
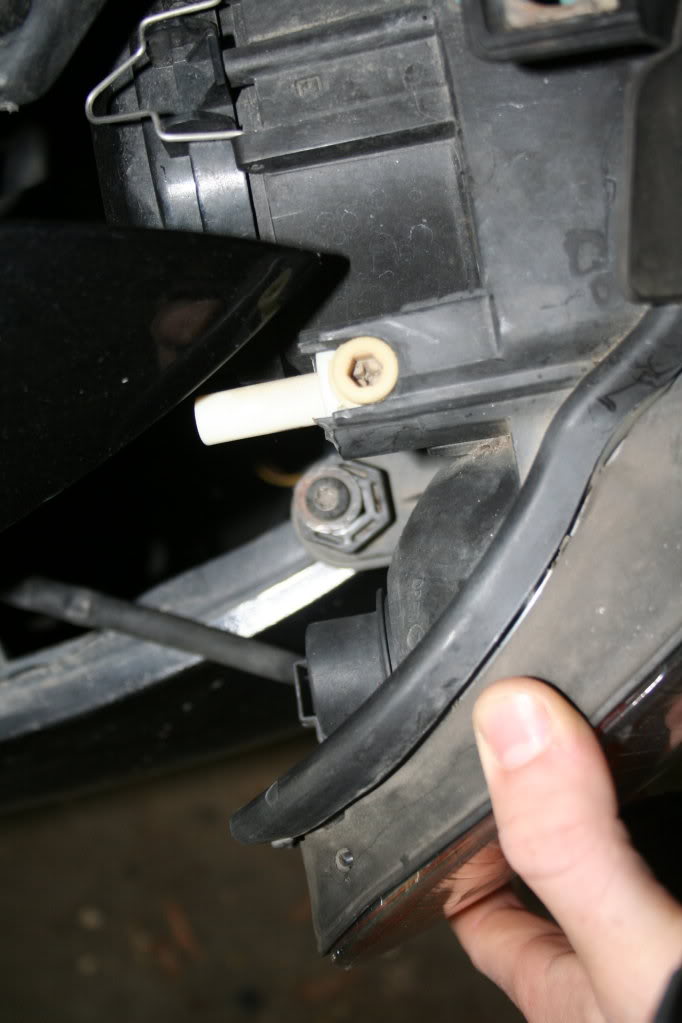
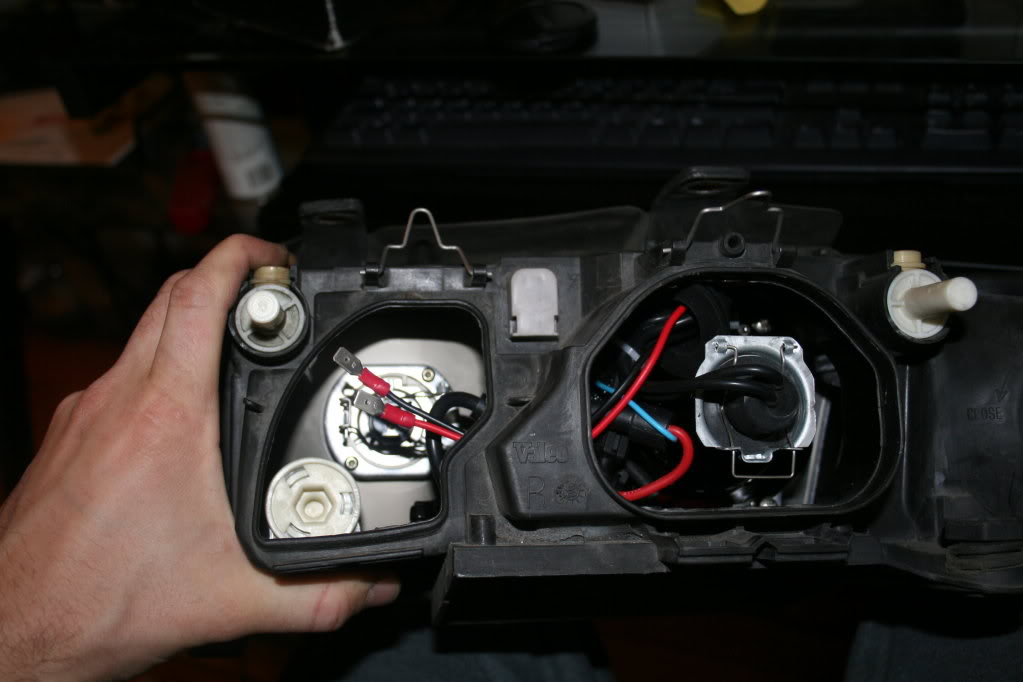
For those who have never removed headlights, its easy. No need to remove front bumper. Just the 3 torx bolts in red. The top two are easy to get to and the third one(screwdriver) requires an extension.
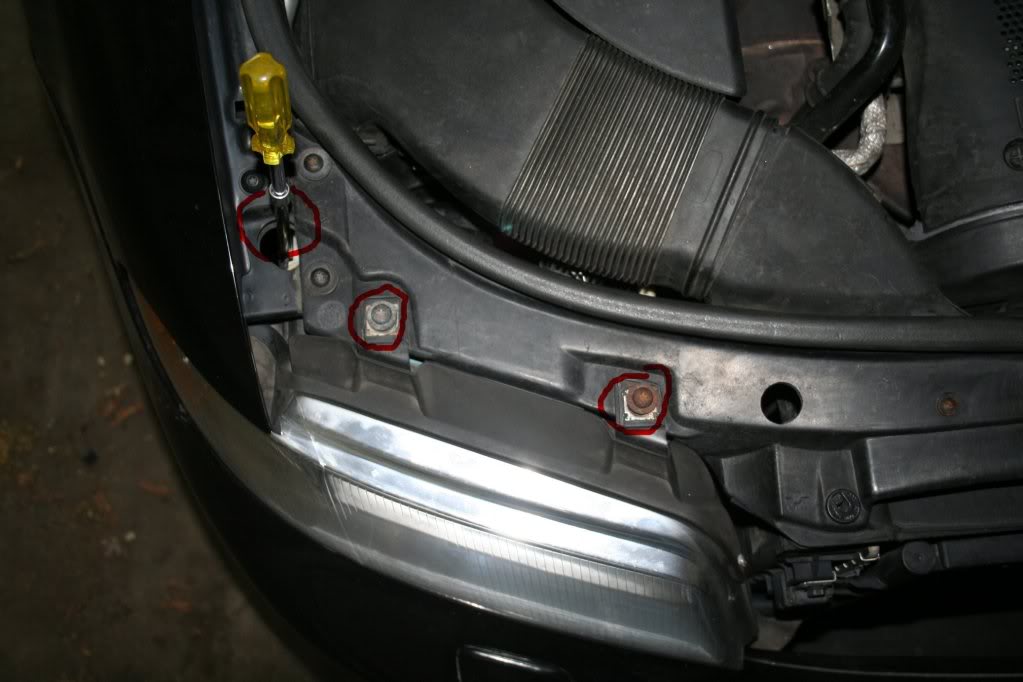
Be careful not to drop this screw and lose it!
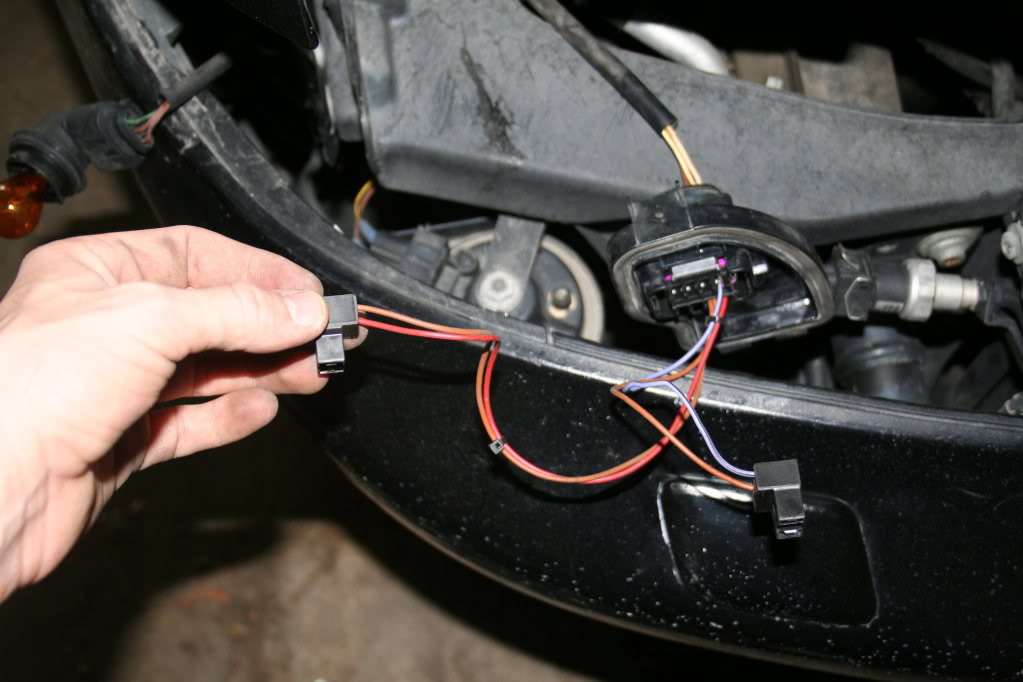
Notice the position of the stock wiring, for high beam in particular.(purple on top, brown on bottom)
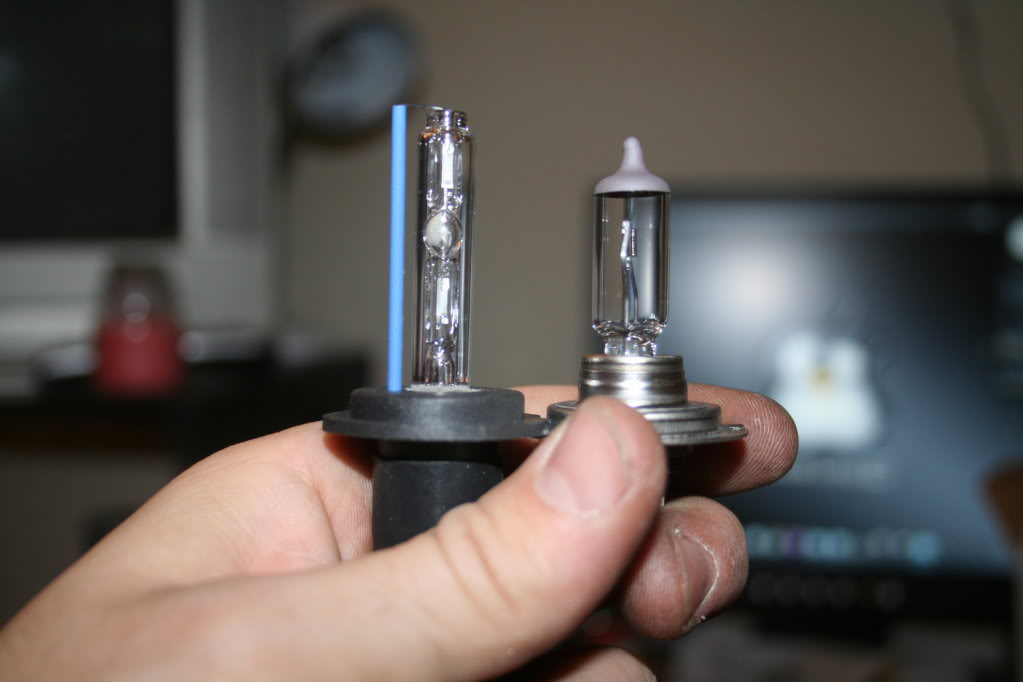
Halogen vs. Xenon/HID
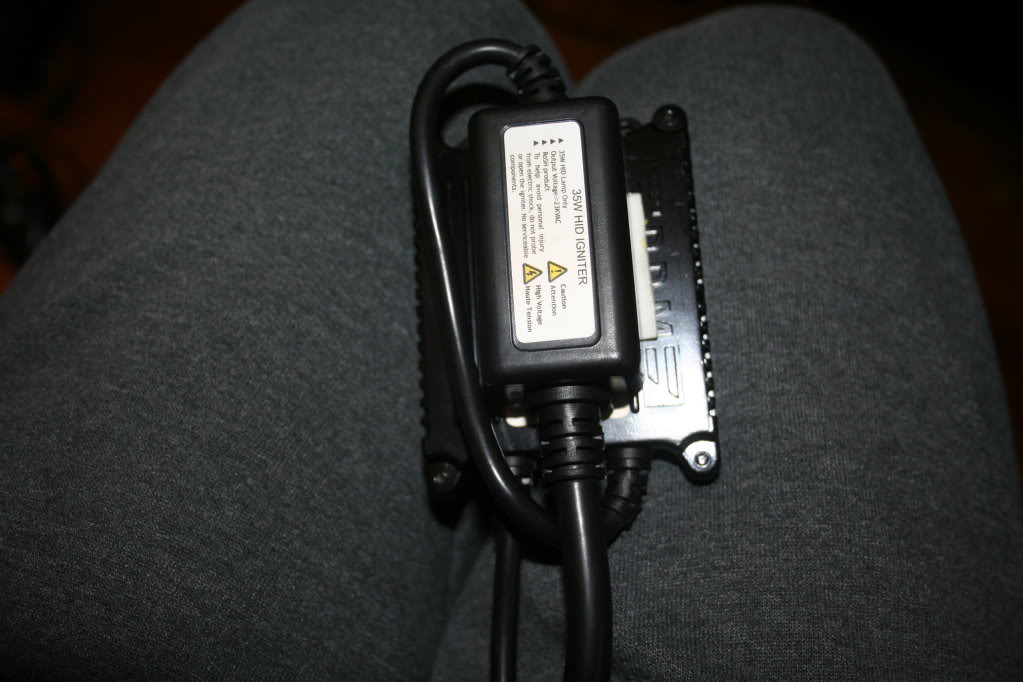
I cut the double sided tape like this...
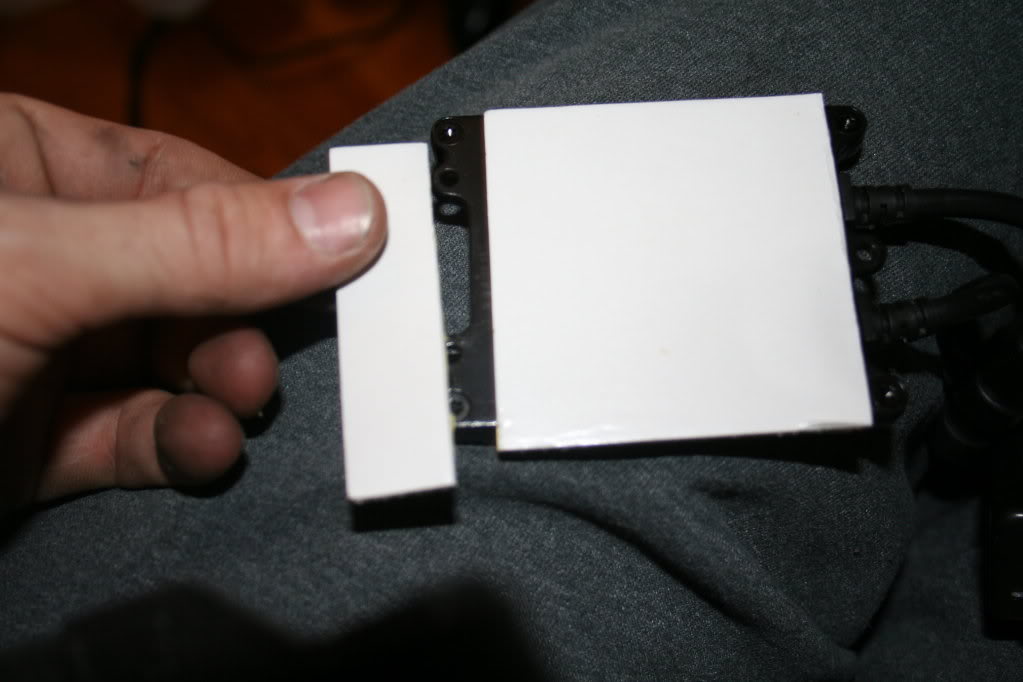
Cut the small piece in half to put on the igniter like this...(do not peel both sides yet!)
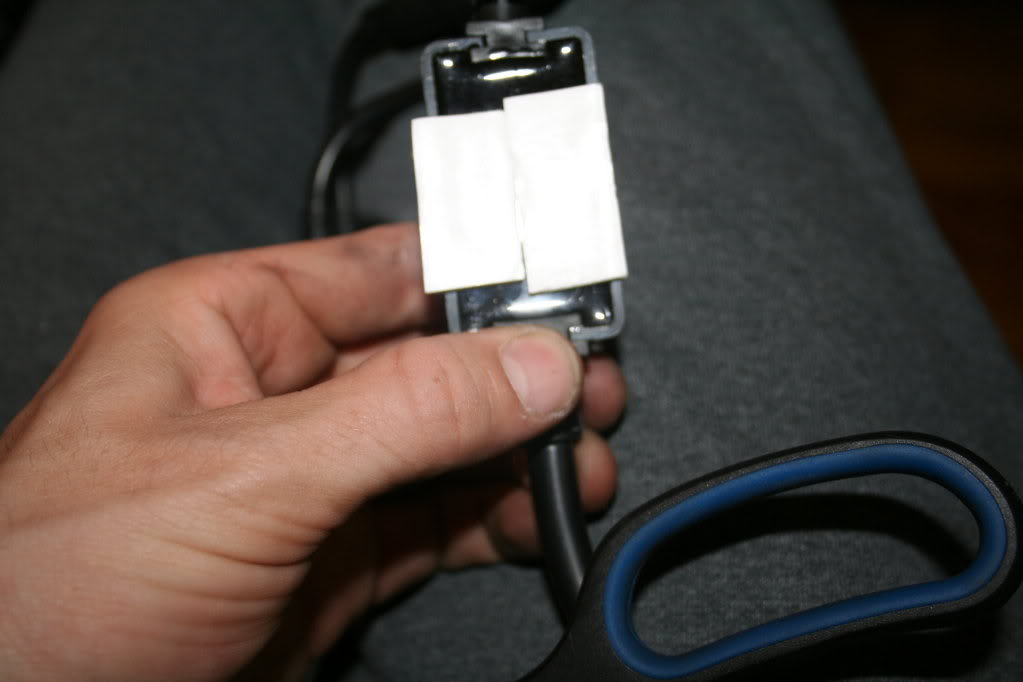
This is what I wanted it to look like, but don't do this yet, you need to do this once it's in the headlight. Go ahead and apply the remaining double sided tape to the bottom of the ballast(only peel that side!)
Once you have it in there, peel the tape off the igniter, stick it to the ballast, rinse, wash, and repeat for the ballast (I screwed up the tape a little on this, but the other side came out much better.) When doing this, try to stick it where it will clear all parts of the headlight when making adjustments later.
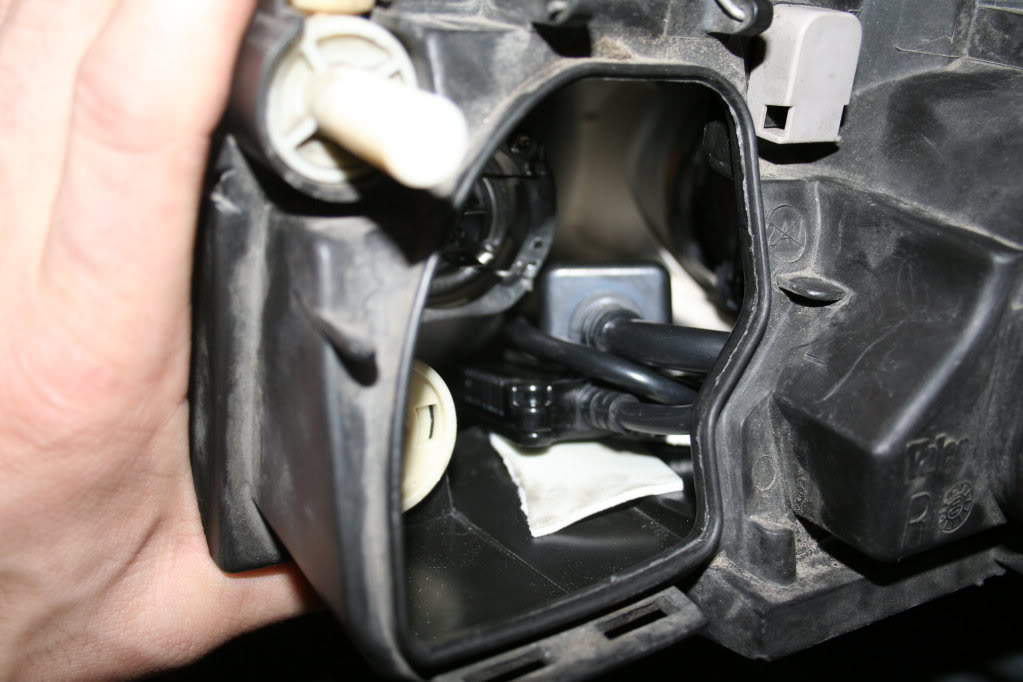
Connect everything(only does it one way). Tuck the wiring in.
No holes, no silicone, it's in there!
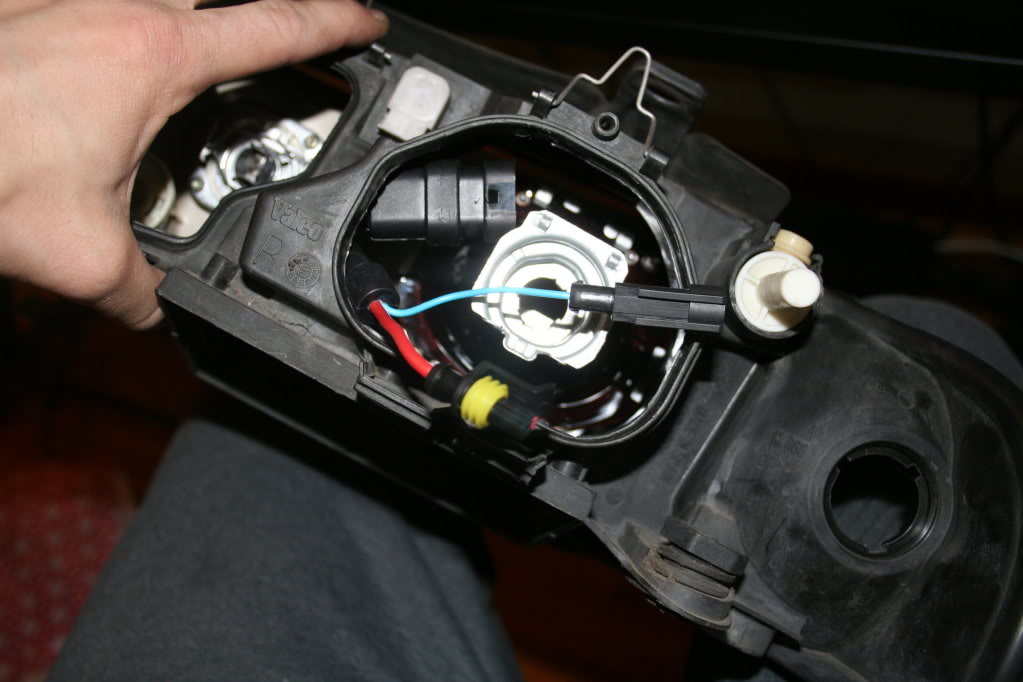
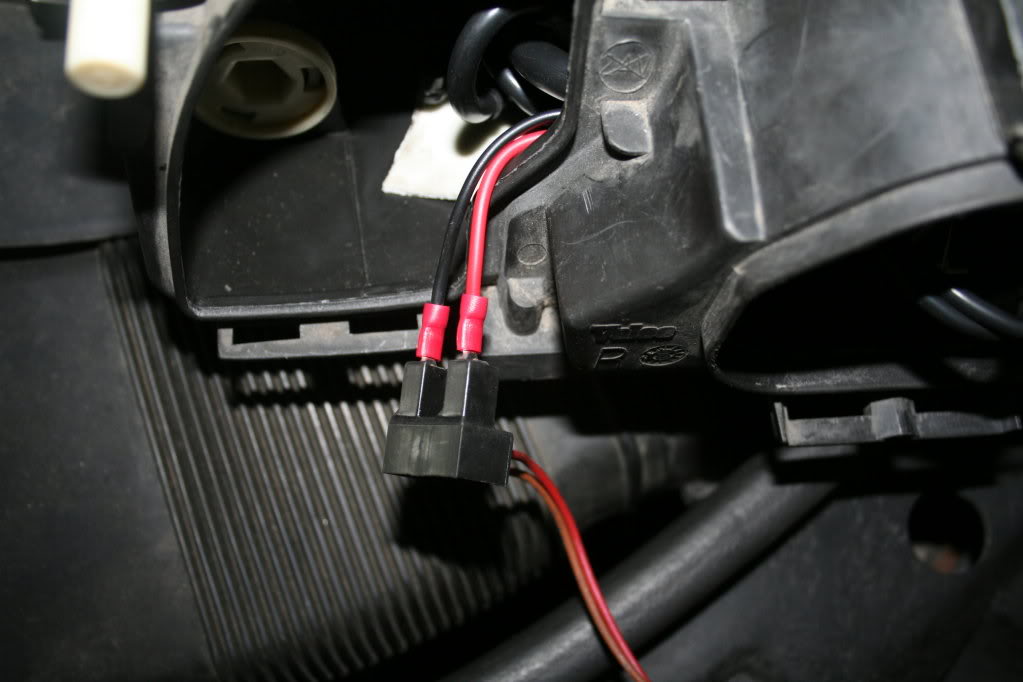
Low beam...red to red, brown to black. I didn't leave mine like this. I taped the connections to prevent them from coming loose later on.
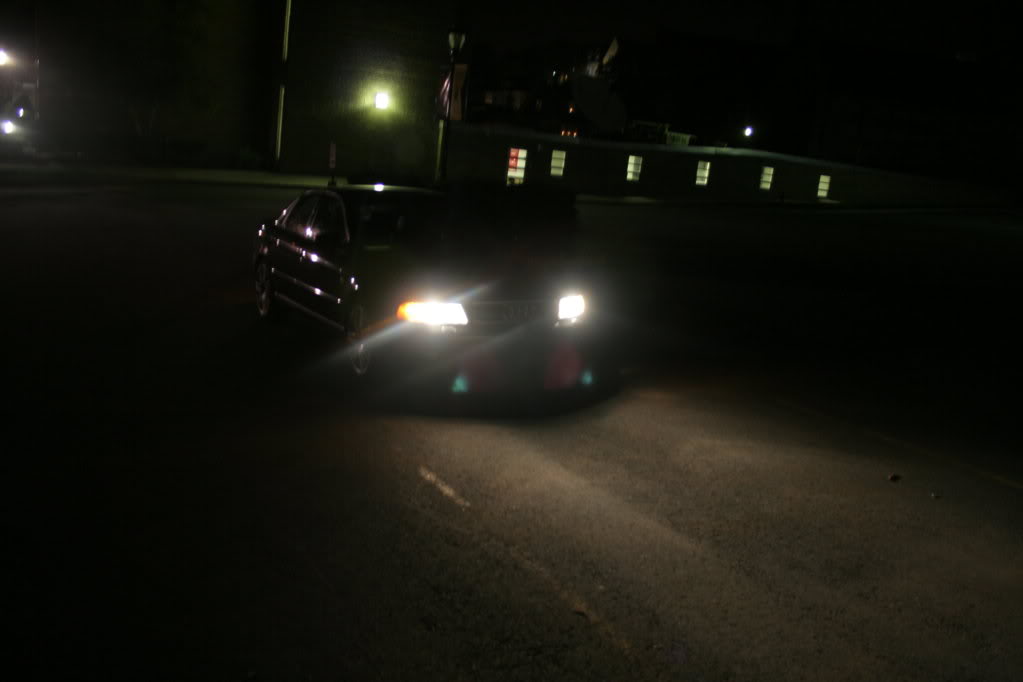
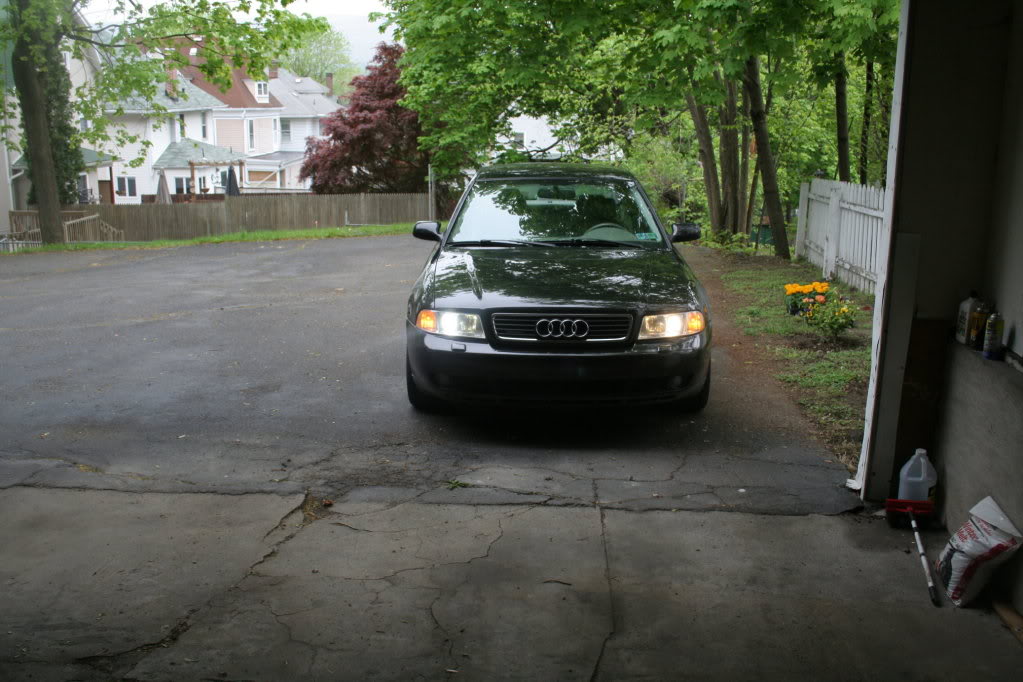
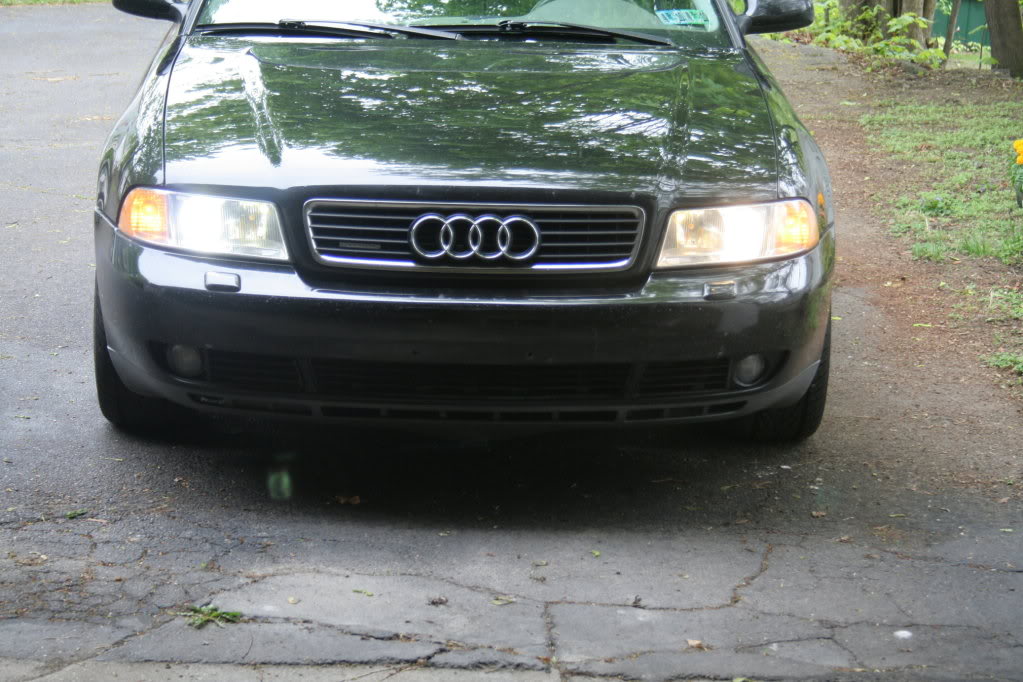
Passenger side HID...drivers side Halogen.
MORE TO COME WHEN I GET SOME TIME TO AIM THEM!!!!
ENJOY!
Here's some install pictures and after. I need to align these and maybe tonite I can aim them!
I think this is a pretty OEMish install. NO SILICONE, NO DRILLED HOLES...completely reversible with no extra parts(except halogen bulbs haha). What I did was double sided taped the ballast between the high beam and low beam with the igniter on top of the ballast and then tucked the wires in! Onto the pics...
For those who have never removed headlights, its easy. No need to remove front bumper. Just the 3 torx bolts in red. The top two are easy to get to and the third one(screwdriver) requires an extension.
Be careful not to drop this screw and lose it!
Notice the position of the stock wiring, for high beam in particular.(purple on top, brown on bottom)
Halogen vs. Xenon/HID
I cut the double sided tape like this...
Cut the small piece in half to put on the igniter like this...(do not peel both sides yet!)
This is what I wanted it to look like, but don't do this yet, you need to do this once it's in the headlight. Go ahead and apply the remaining double sided tape to the bottom of the ballast(only peel that side!)
Once you have it in there, peel the tape off the igniter, stick it to the ballast, rinse, wash, and repeat for the ballast (I screwed up the tape a little on this, but the other side came out much better.) When doing this, try to stick it where it will clear all parts of the headlight when making adjustments later.
Connect everything(only does it one way). Tuck the wiring in.
No holes, no silicone, it's in there!
Low beam...red to red, brown to black. I didn't leave mine like this. I taped the connections to prevent them from coming loose later on.
Passenger side HID...drivers side Halogen.
MORE TO COME WHEN I GET SOME TIME TO AIM THEM!!!!
ENJOY!

#8
05-04-2009, 02:24 PM
Stock wattage is 55, many have used them. I only asked to get an idea of light color since 55w will wash out most of the blueish tint in the light.
#10
05-04-2009, 03:34 PM
Thanks for the pictures though I am totally switching to a DDM slim ballast kit!!!! I love your install.
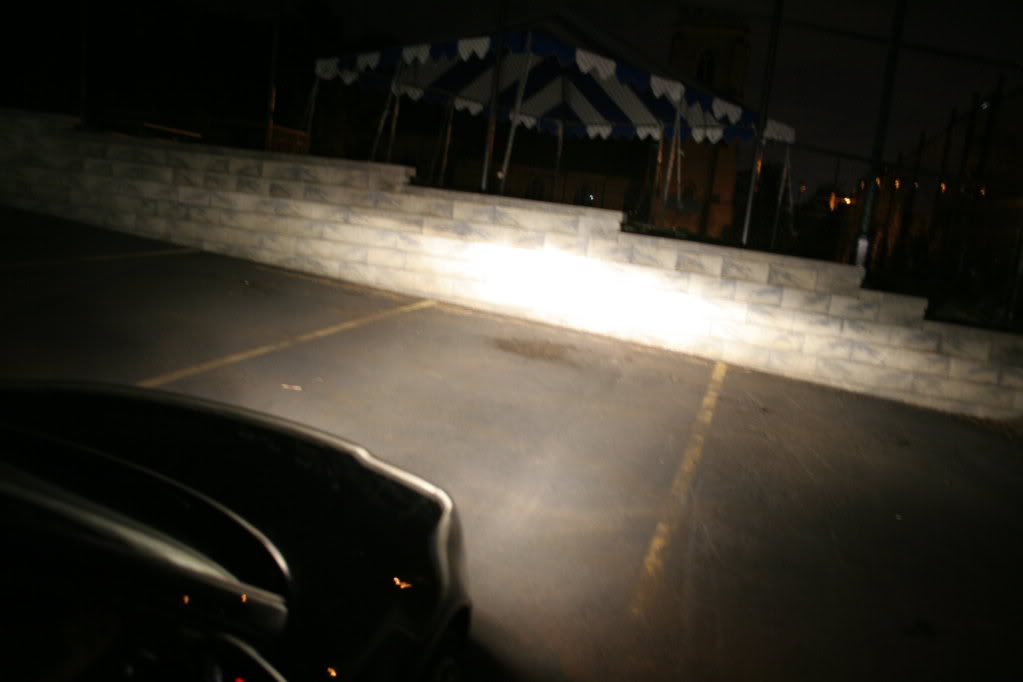
My 35w VVME kit in e codes. Idk what wattage they are but I do not see a cut off like this on his

Last edited by somebody5788; 05-04-2009 at 03:38 PM.