
5 Speed swap
#31
 03-25-2011, 08:56 AM


Well I did take the first one back and yup the second one is just as bad. Both axles are like this. I even used aviation spec grease, and there still noisy. They work fine but the tolerances must not be exact. This is the 3rd one on the drivers and the first one on the passenger. you'll see 
Thanks
#32
03-28-2011, 01:23 AM
Today was to be the day that I get everything running but due to not getting any pressure plate bolts things were put on hold. Today I did remove the flexplate and shaved the crank. Shaving the crank as shown in Biketsai's thread http://www.audizine.com/forum/showth...ual-Conversion is pretty straight forward. I left the spacers on there (that are already there from the stock flexplate) and just grinded everything down nice and even and inserted my pilot bearing.
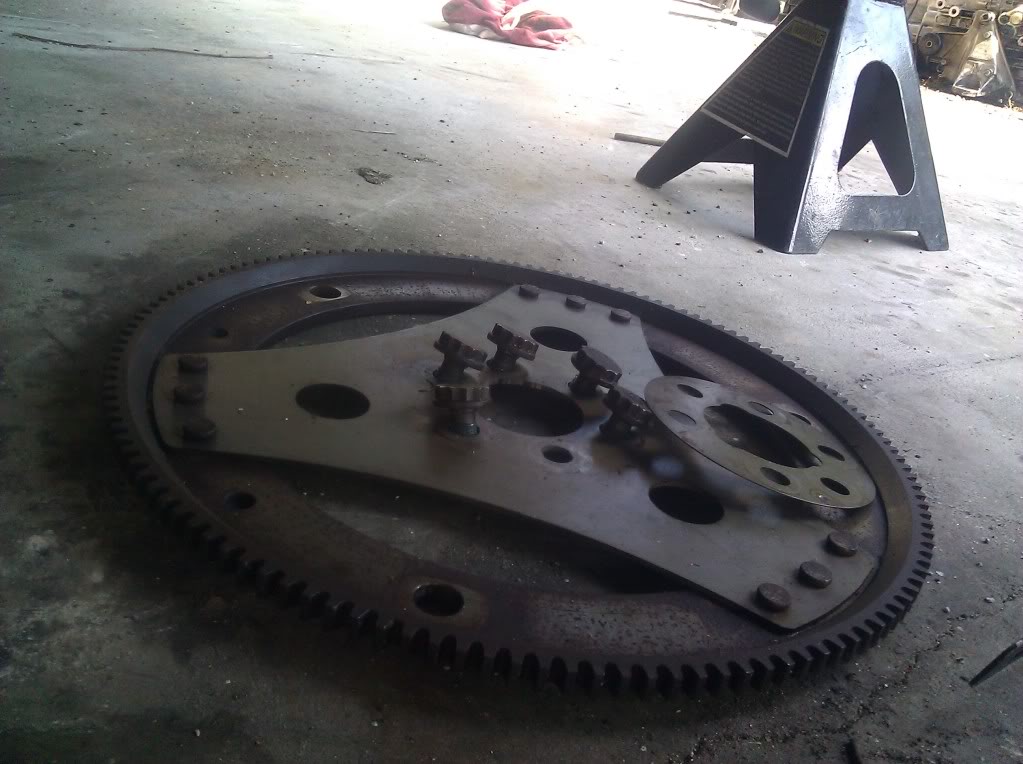
With spacers
Without spacers
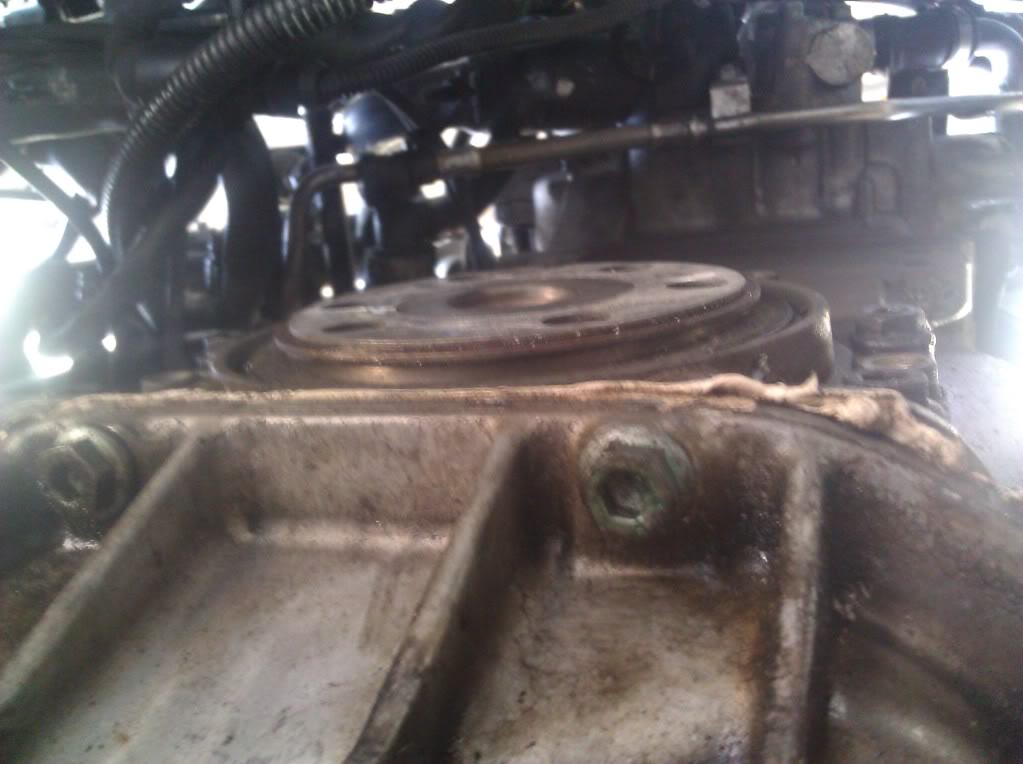
I then proceded to tightening my LWFW. Using a phillips screwdriver I inserted it into one of the holes in the FW so that it wouldn't spin while torquing everything down.

Got everything lined up then no PP bolts .
.
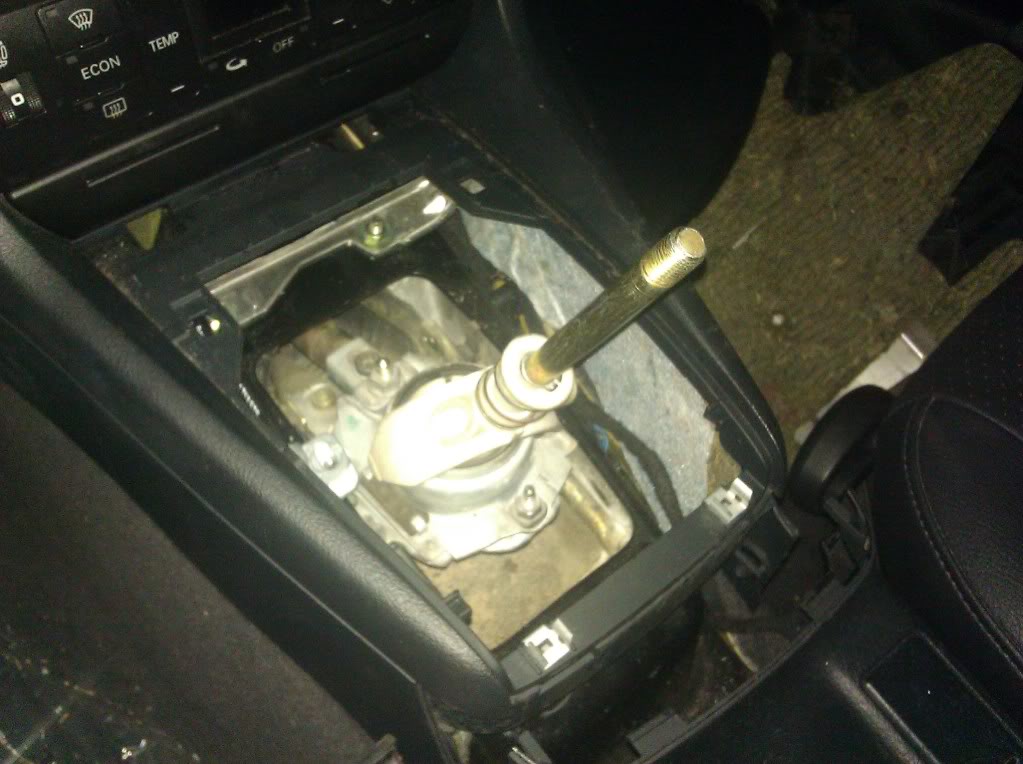
So went inside and installed my shifter box.
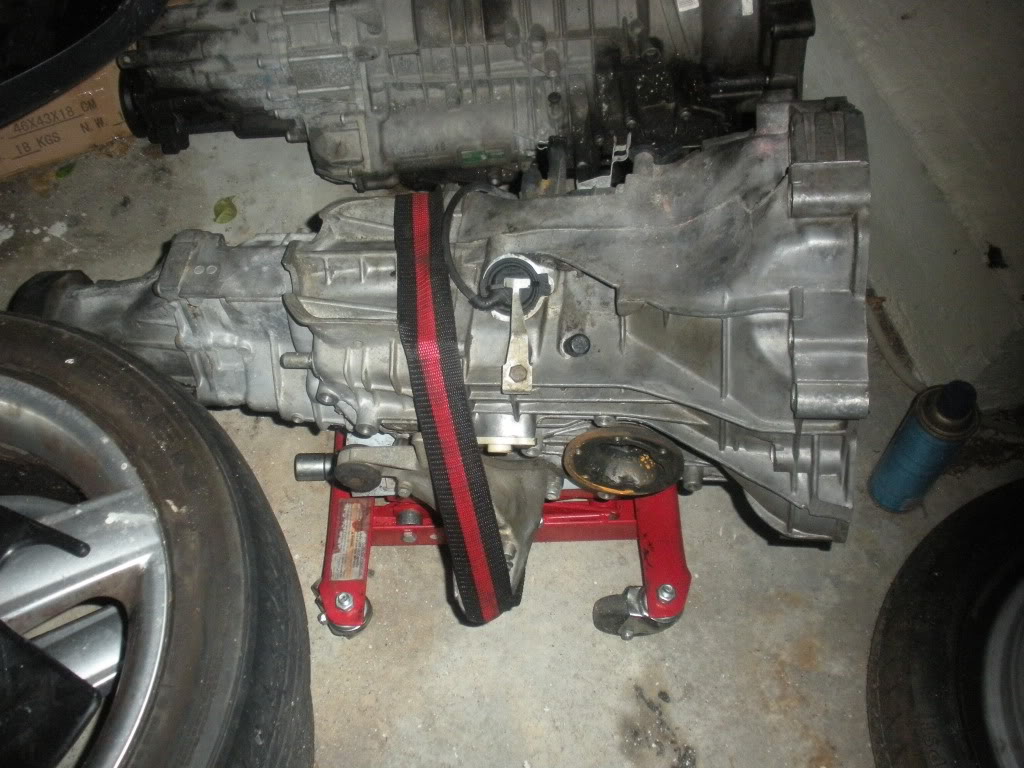
Also super cleaned my tranny (as it was FILTHY) a lot of brake cleaner used here.
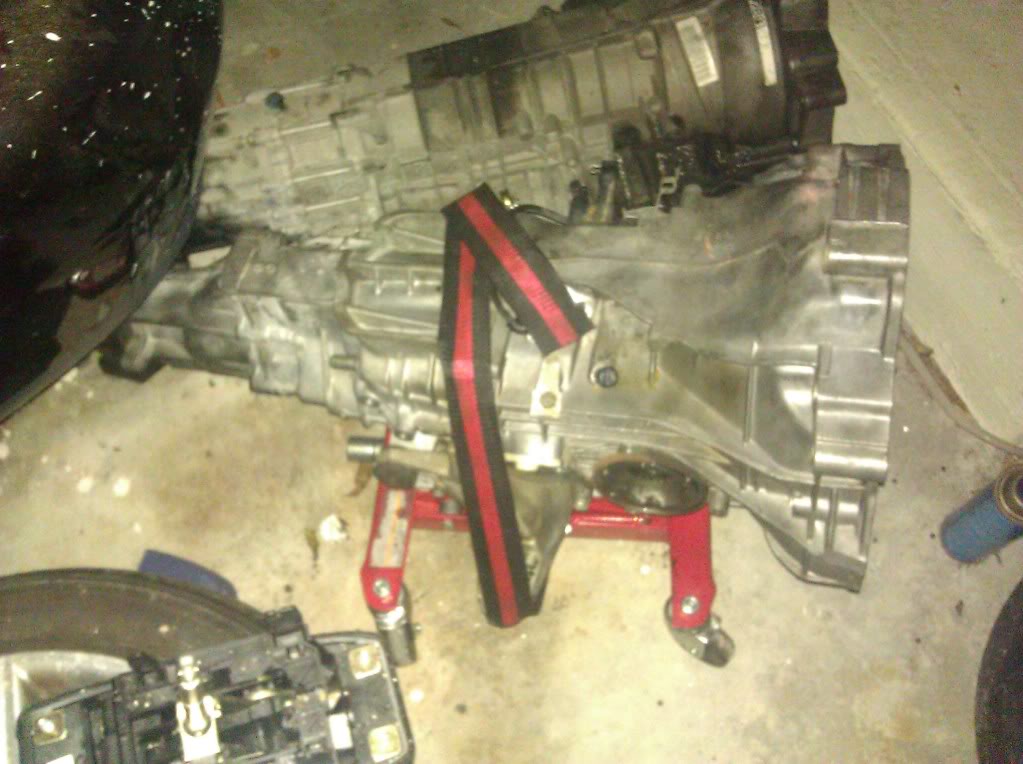
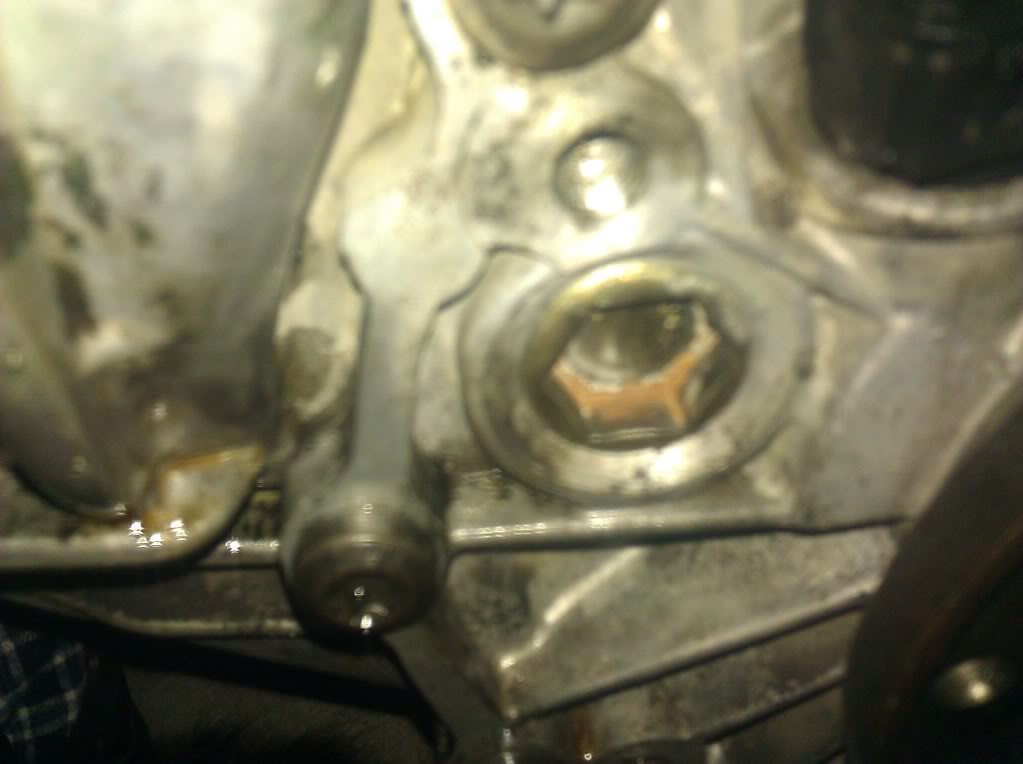
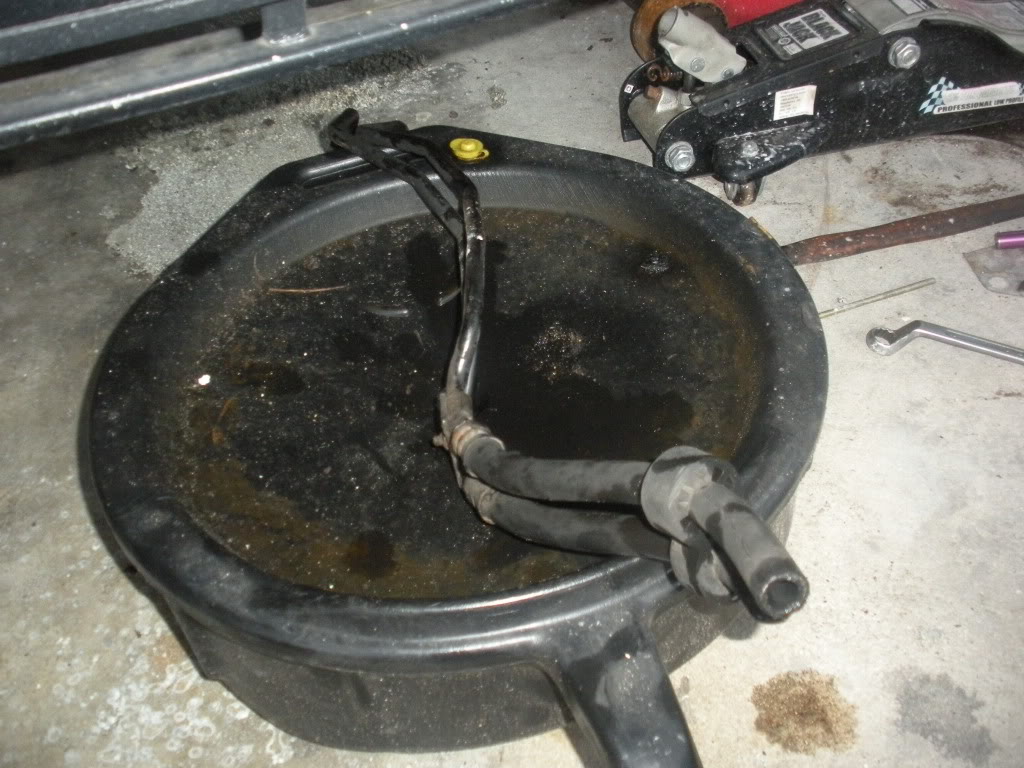
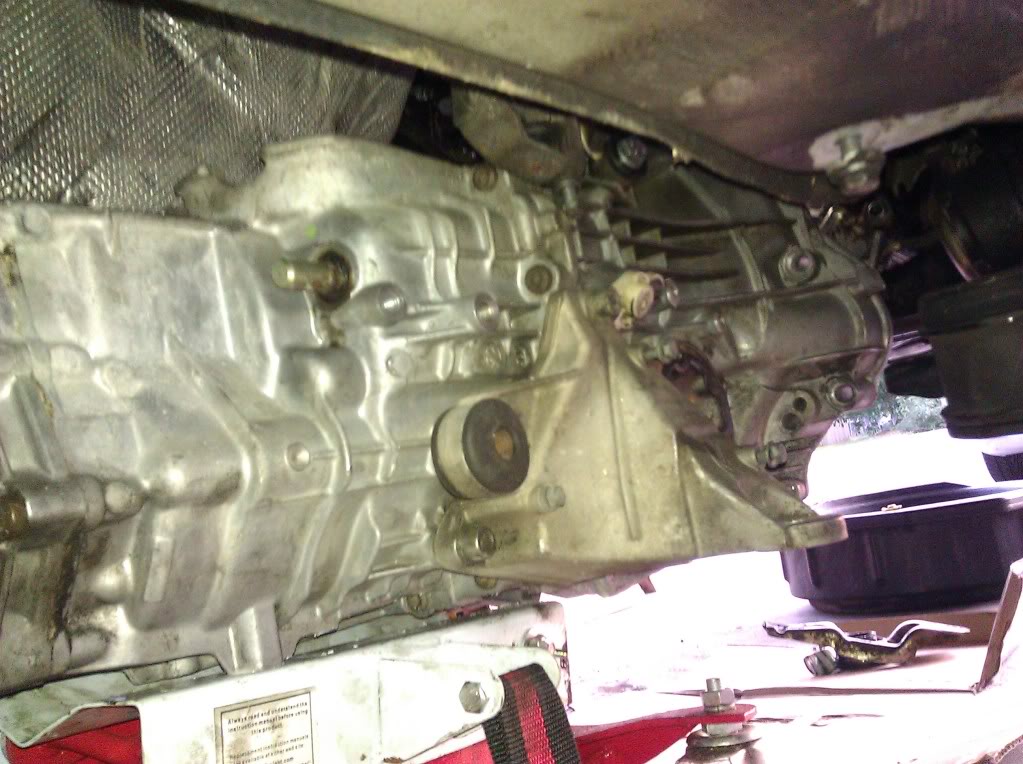
I installed the drivers side 2.8 V6 trans mount and also drained and refilled the transmission. I did not have the special tool for the drain plug so we just tipped it over on its side into my fluid bucket and refilled. Here is the refill plug (on the drivers side)
Installed new pilot bearing and input shaft and output shaft seals.

Hopefully I will have the PP bolts by next weekend so that I can get it all back together. Then I will be installing my ER TIP/TP/Forge DV and doing my TB but at least the 5 speed portion will be done.
With spacers
Without spacers
I then proceded to tightening my LWFW. Using a phillips screwdriver I inserted it into one of the holes in the FW so that it wouldn't spin while torquing everything down.
Got everything lined up then no PP bolts
. So went inside and installed my shifter box.
Also super cleaned my tranny (as it was FILTHY) a lot of brake cleaner used here.
I installed the drivers side 2.8 V6 trans mount and also drained and refilled the transmission. I did not have the special tool for the drain plug so we just tipped it over on its side into my fluid bucket and refilled. Here is the refill plug (on the drivers side)
Installed new pilot bearing and input shaft and output shaft seals.
Hopefully I will have the PP bolts by next weekend so that I can get it all back together. Then I will be installing my ER TIP/TP/Forge DV and doing my TB but at least the 5 speed portion will be done.
#33
04-06-2011, 01:46 PM
Sorry for the lack of updates got side tracked installing my ER TIP and Forge Splitter (PITA due to all the stock hoses being "cooked" onto all of the stock stuff). Ill update with pics. It's been kind of ugly here weather wise but my plan is to get the trans bolted up and finish it off by Sunday.
Pics
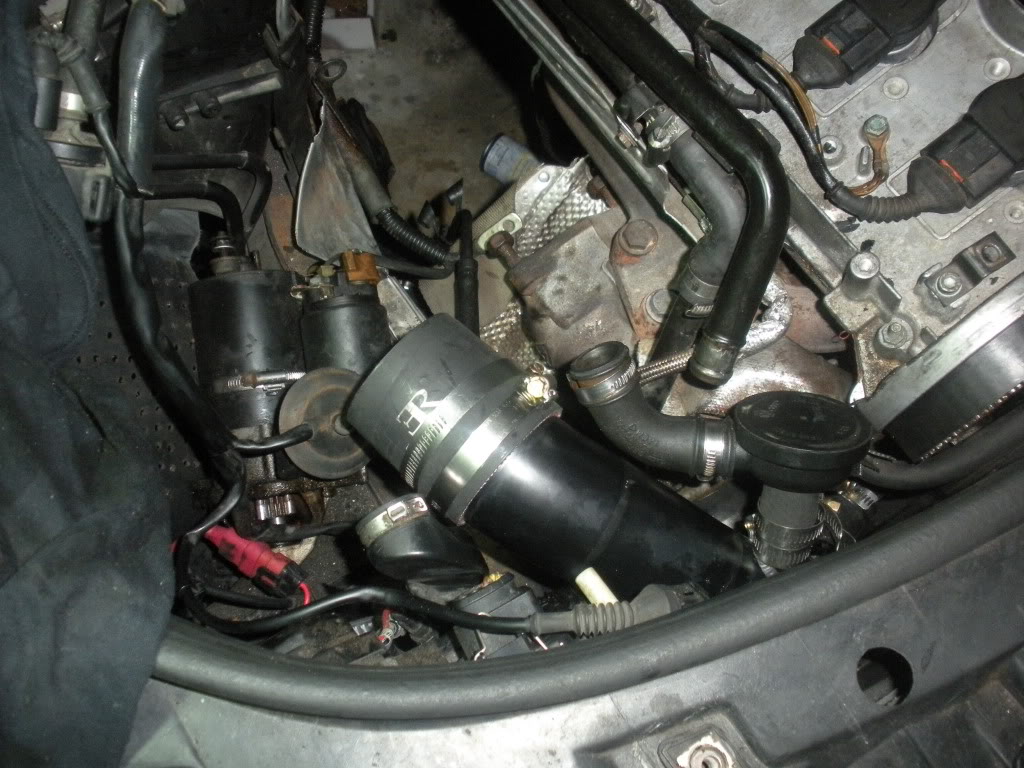
The TIP fits 100x's better w/o the auto tranny cooler lines
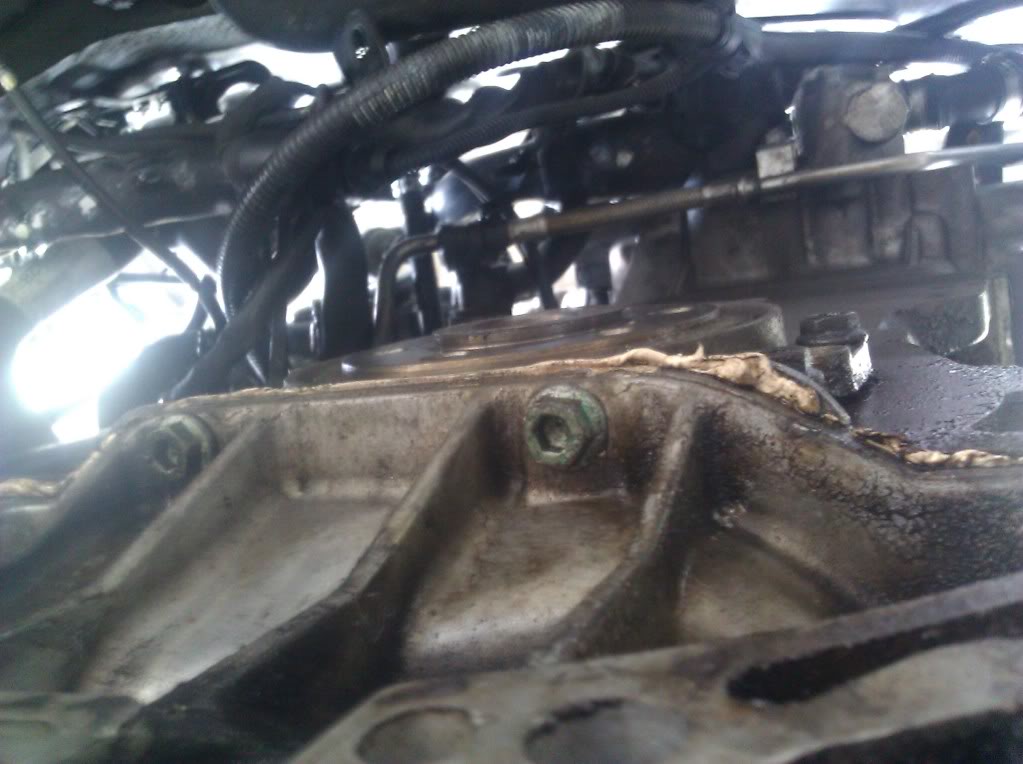
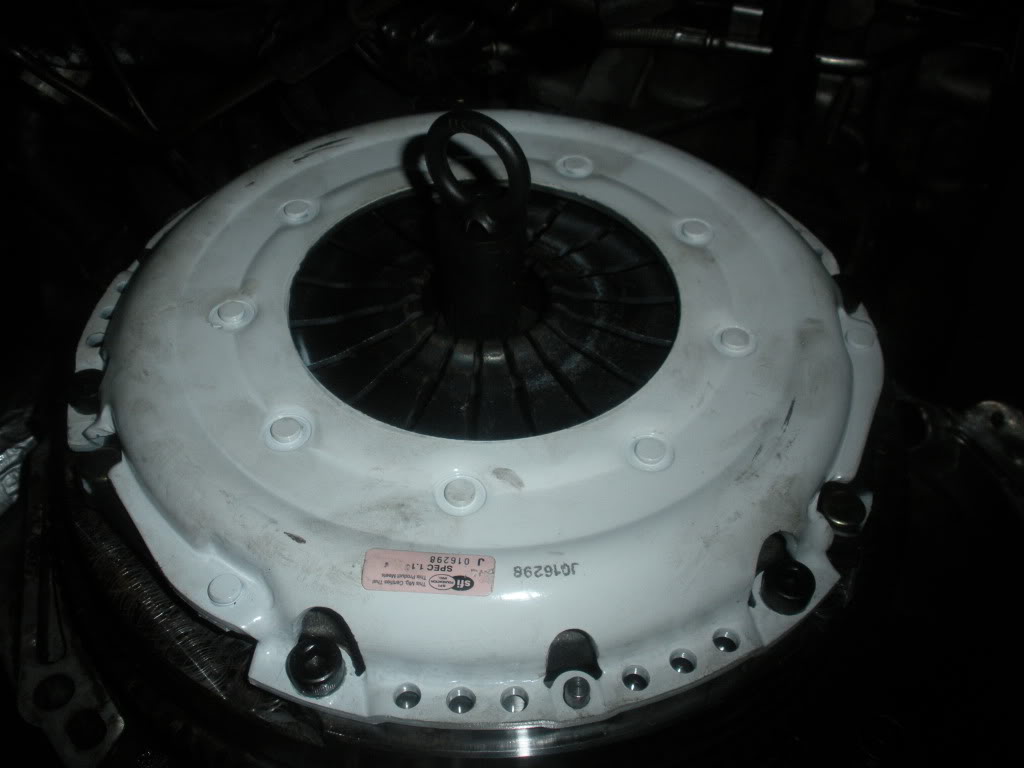
My PP bolts came in so got all of that squared away
Waiting to go in
Pics
The TIP fits 100x's better w/o the auto tranny cooler lines
My PP bolts came in so got all of that squared away
Waiting to go in

#35
04-20-2011, 04:51 PM
Yea I would have had this done but I got the FW and PP mounted and decided that I should do the rear main seal. While looking for that I decided to piece together my timing belt kit. Installed my ER TIP/Forge Splitter and then started removing unecessary PCV stuff. I'm basically doing a overhaul of a lot of stuff but it should all be mounted this weekend. Ill update with pics and info.


#37
05-01-2011, 02:12 PM
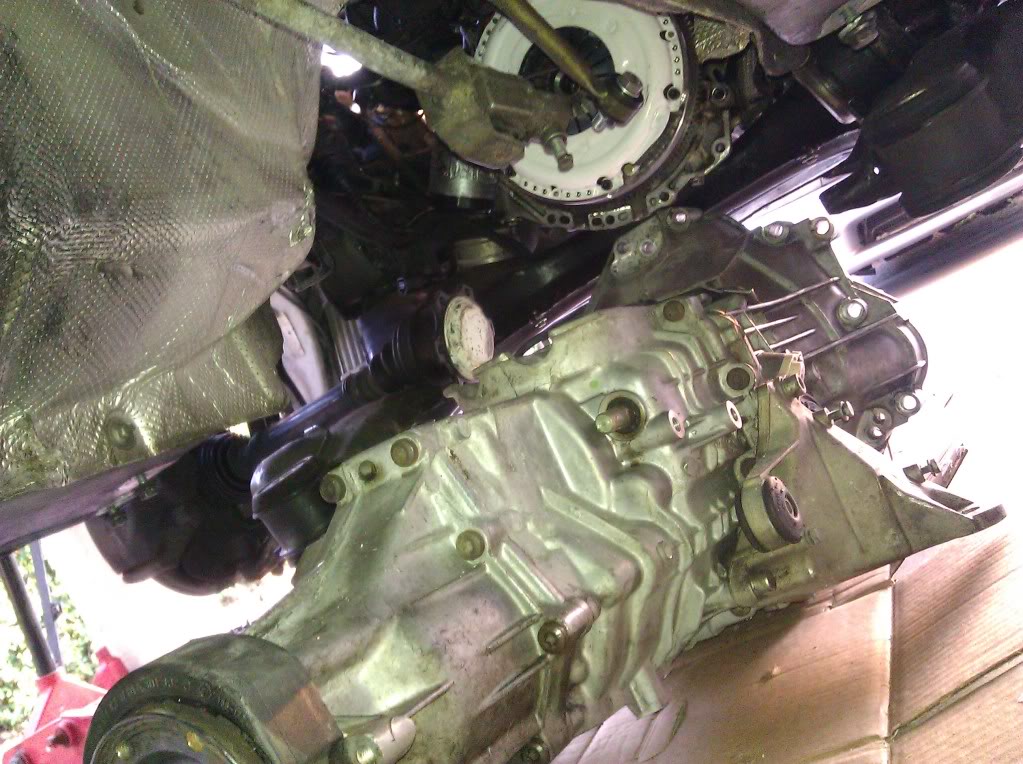
Motor had tilted forward a bit from sitting so long in the same position and wouldn't line up with the tranny so I used a wood block to even it out.
http://www.flickr.com/photos/49981109@N08/5674343180/http://www.flickr.com/photos/49981109@N08/5674343180/ by http://www.flickr.com/people/49981109@N08/, on Flickr
Lined up I ran into an issue where the starter bolts up (seen here) So I used my hacksaw and cut off the metal piece (on the bottom) that is on the motor.
http://www.flickr.com/photos/49981109@N08/5674341722/http://www.flickr.com/photos/49981109@N08/5674341722/ by http://www.flickr.com/people/49981109@N08/, on Flickr
All bolted up!! Just have a few more things to button up.
http://www.flickr.com/photos/49981109@N08/5673765049/http://www.flickr.com/photos/49981109@N08/5673765049/ by http://www.flickr.com/people/49981109@N08/, on Flickr
#38
05-11-2011, 06:58 PM
Work was done over the weekend. I'm out of town on business and have some time for an update.
Clutch line hooked up.
http://www.flickr.com/photos/49981109@N08/5678031960/http://www.flickr.com/photos/49981109@N08/5678031960/ by http://www.flickr.com/people/49981109@N08/, on Flickr
Shift linkage and JHM bushing installed (HIGHLY RECCOMEND)
http://www.flickr.com/photos/49981109@N08/5697333089/http://www.flickr.com/photos/49981109@N08/5697333089/ by http://www.flickr.com/people/49981109@N08/, on Flickr
Speed sensor plugged in
http://www.flickr.com/photos/49981109@N08/5678030280/http://www.flickr.com/photos/49981109@N08/5678030280/ by http://www.flickr.com/people/49981109@N08/, on Flickr
Driveshaft up
http://www.flickr.com/photos/49981109@N08/5709573788/http://www.flickr.com/photos/49981109@N08/5709573788/ by http://www.flickr.com/people/49981109@N08/, on Flickr
Tranny bolted up and everything tightened down. Time to protect my investment.
http://www.flickr.com/photos/49981109@N08/5697908554/http://www.flickr.com/photos/49981109@N08/5697908554/ by http://www.flickr.com/people/49981109@N08/, on Flickr
BTW new rear main seal
http://www.flickr.com/photos/49981109@N08/5651474453/http://www.flickr.com/photos/49981109@N08/5651474453/ by http://www.flickr.com/people/49981109@N08/, on Flickr
Old main seal (ouch)
http://www.flickr.com/photos/49981109@N08/5697910188/http://www.flickr.com/photos/49981109@N08/5697910188/ by http://www.flickr.com/people/49981109@N08/, on Flickr
#39
05-11-2011, 08:29 PM
Extra sheetmetal laying around. Figured I'd have my buddy cut me a piece.
http://www.flickr.com/photos/49981109@N08/5705927398/http://www.flickr.com/photos/49981109@N08/5705927398/ by http://www.flickr.com/people/49981109@N08/, on Flickr
Skid plate time. Making a template.
http://www.flickr.com/photos/49981109@N08/5705360303/http://www.flickr.com/photos/49981109@N08/5705360303/ by http://www.flickr.com/people/49981109@N08/, on Flickr
http://www.flickr.com/photos/49981109@N08/5705359591/http://www.flickr.com/photos/49981109@N08/5705359591/ by http://www.flickr.com/people/49981109@N08/, on Flickr
Test fit (sorry for the blurry pic)
http://www.flickr.com/photos/49981109@N08/5705362505/http://www.flickr.com/photos/49981109@N08/5705362505/ by http://www.flickr.com/people/49981109@N08/, on Flickr
After test fitting and drilling the mounting holes. Sprayed with rubber liner and bedliner. Plan to cut slits in it when I get back this weekend. Not Thor or Panzar baller status but it was free.
http://www.flickr.com/photos/49981109@N08/5710756857/http://www.flickr.com/photos/49981109@N08/5710756857/ by http://www.flickr.com/people/49981109@N08/, on Flickr
I have been getting rid of all of the unecessary vac lines in the engine bay to clean things up a bit. Had some extra metal laying around so decided to make my own EVAP block off plate
http://www.flickr.com/photos/49981109@N08/5709573364/http://www.flickr.com/photos/49981109@N08/5709573364/ by http://www.flickr.com/people/49981109@N08/, on Flickr
It'll get the job done.
http://www.flickr.com/photos/49981109@N08/5705363225/http://www.flickr.com/photos/49981109@N08/5705363225/ by http://www.flickr.com/people/49981109@N08/, on Flickr
#40
05-16-2011, 10:13 PM
So today I solved the problem of the rear axles not lining up. Here is the flange from the 99.
http://www.flickr.com/photos/49981109@N08/5724301230/http://www.flickr.com/photos/49981109@N08/5724301230/ by http://www.flickr.com/people/49981109@N08/, on Flickr
Here is the auto flange.
http://www.flickr.com/photos/49981109@N08/5724299950/http://www.flickr.com/photos/49981109@N08/5724299950/ by http://www.flickr.com/people/49981109@N08/, on Flickr
Good thing I still had my auto diff. I swapped the flanges and viola.
http://www.flickr.com/photos/49981109@N08/5724301470/http://www.flickr.com/photos/49981109@N08/5724301470/ by http://www.flickr.com/people/49981109@N08/, on Flickr
Everything is bolted up and torqued to spec at this point. But with my luck of course it can't be that simple. I was to the last step of installing the front axles but they don't fit!! The hub size is different. IIRC the stock hub size for MY 01 is 82 (correct me if I'm wrong) this is probably something like a 57. Here are a couple of pics.
Stock
http://www.flickr.com/photos/49981109@N08/5723743261/http://www.flickr.com/photos/49981109@N08/5723743261/ by http://www.flickr.com/people/49981109@N08/, on Flickr
Advance axle.
http://www.flickr.com/photos/49981109@N08/5724299674/http://www.flickr.com/photos/49981109@N08/5724299674/ by http://www.flickr.com/people/49981109@N08/, on Flickr
So its back to the parts store tommorrow and see about getting the right ones. This is the second problem that I have run into that I didn't see Chris have (the first being the flanges on the diff) so idk what's going on but luckily it isn't anything I can't beat. Update and hopefuly finished soon!!
Upate: The 2.8 axles fit perfect. I installed both sides so only thing left for this weekend is bleeding the brake/clutch and finishing up my vacuum delete then fire her up.